Clothing Brand Photoshoot Part 2: Organizing The Pre-Shoot Details
In Part 1 of this series, we talked all about building the right crew for your clothing brand photoshoot. Stylists, photographers, the works! You’ve now got a solid squad that’s ready to bring your vision to life. I’ve learned throughout the years that having the right people on your team is only half the battle.
So, what is the next step? Planning a shoot that works. Preparation is everything. And not just the pretty mood board kind (although I love a good mood board). I’m talking about the nitty-gritty, behind-the-scenes logistics that make or break your results.
In this post, we’ll map out your shoot day so everyone is on the same page, your brand message shines, and you don’t waste time or money. This is your guide for planning a clothing brand photoshoot that actually works.
Key Takeaways Ahead:
- Step 6: Plan Clothing Combinations + Shoes
- Step 7: Essential Prep Checklist For Your Clothing Brand Photoshoot
- Step 8: Samples Finished
- Step 9: Finalize Outfits, Shots, & Model Compensation
- Step 10: Plan, Pack, & Organize
Step 6: Plan Clothing Combinations
This is where things start to get real. Planning clothing combinations for your clothing brand photoshoot can become complicated.
I like to say that I have the most amazing assistant, and its name is Adobe Illustrator. It keeps all outfit information super organized.
First, start by mapping out your full line in Adobe Illustrator. Every single item, including accessories, should be laid out visually. This allows you to copy and paste pieces to build your outfit combinations easily.
Next, create a giant digital board with all the outfit combinations for each collection. Then, assign specific models to each outfit and plan additional group shots.
From there, planning goes even deeper:
- Assign sizes to each model
- Choose your base sample size.
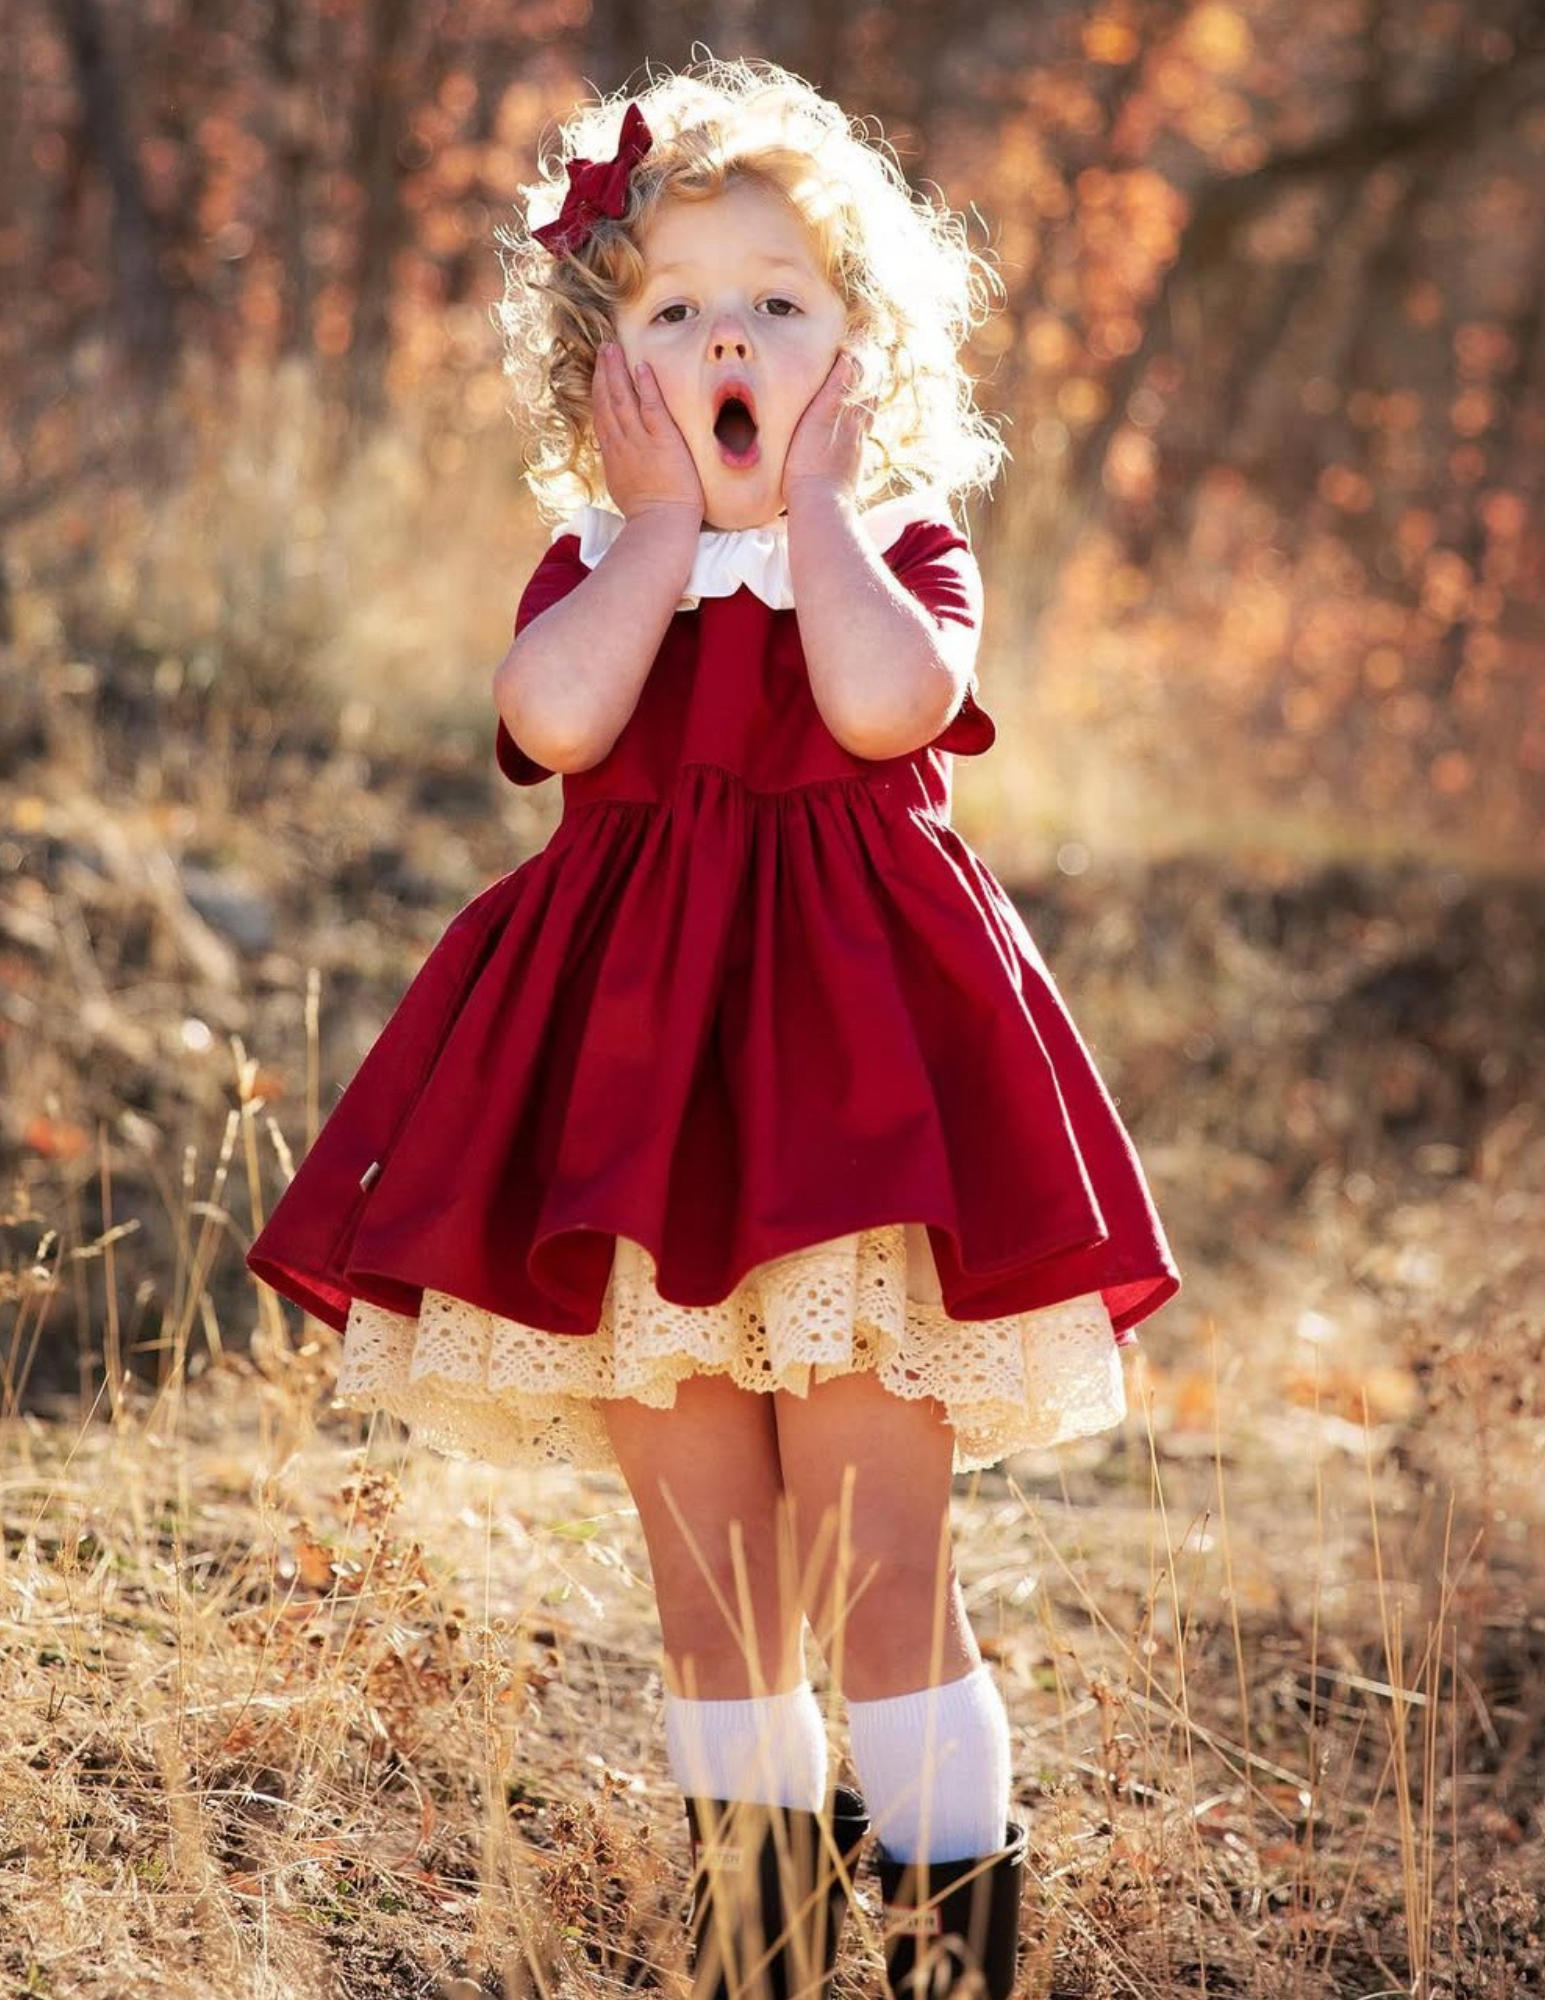
- Our base sample is size 3, so we find as many three years old as possible when casting models for our clothing brand photoshoots. We’re already purchasing all of the size 3 samples anyway, so it makes sense to utilize them as much as possible in the shoots.
- Of course, you will want to represent other ages in your line, so you will add more sizes, but I recommend capitalizing on the samples you are already paying for to save some money.
- Consider all of the different outfit combinations you have so you can show your customer the many different ways they can wear something.
Next up, Shoes. Weirdly, shoes can be surprisingly tricky when it comes to styling a photoshoot. You can ask models to bring their own, but sometimes their shoes just don’t match the vibe, or worse, they’re worn out. Give yourself plenty of time to get shoes ordered.
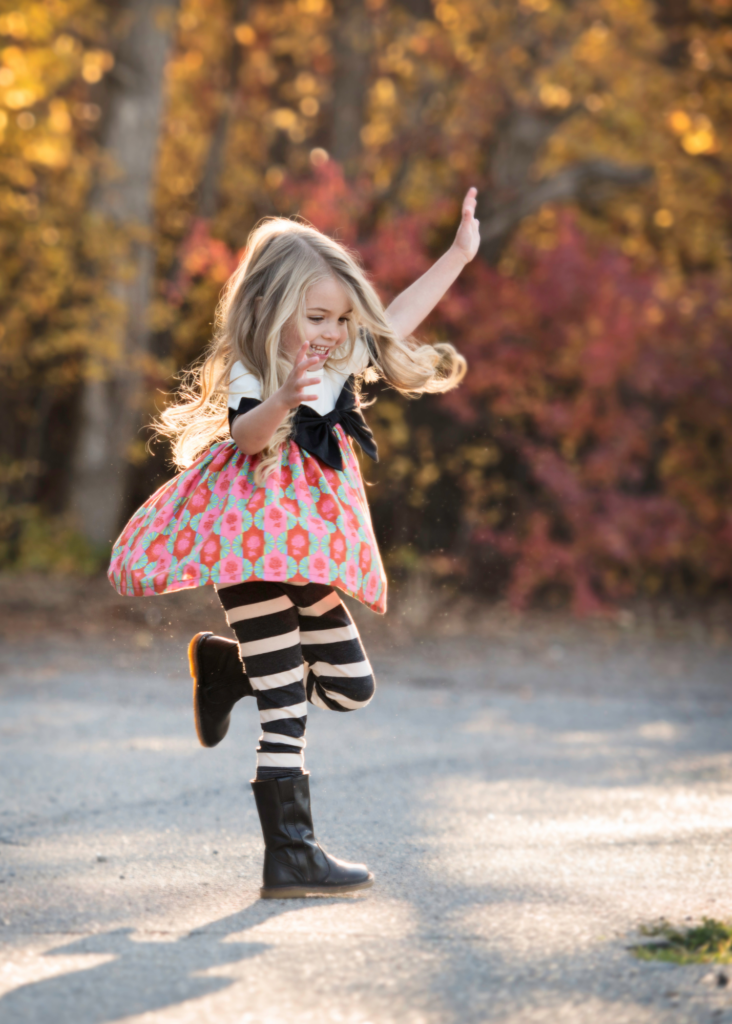
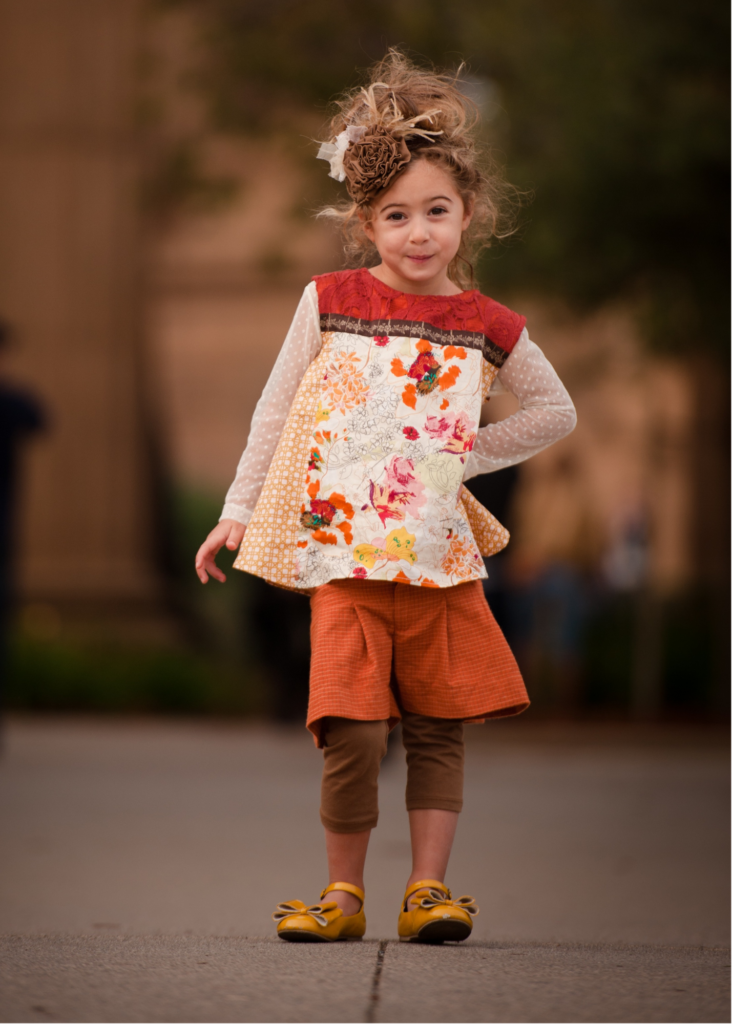
Shoe options to consider:
- Ask models to bring their own shoes.
- If the mom offers to buy new shoes, give her guidance on what you are looking for.
- Keep a tote of neutral shoes in various sizes on hand.
- Go barefoot for a cute, natural look.
- Order shoes yourself for more predictability and style control.
- Collaborate with a shoe brand. We did this often and it saved thousands of dollars!
A great outfit paired with clunky or distracting shoes can throw off the whole photo. So plan ahead, and stay flexible!
Step 7: Essential Prep Checklist For Your Clothing Brand Photoshoot
To make sure your clothing brand photoshoot runs without a hitch, it’s important to have a few key things in place before arriving at the location:
- Delegate Smartly: Have someone in charge of managing the schedule, outfits, breaks, and general coordination so things stay on track.
- Create a Changing Area: If you’re shooting outdoors or on location, a $50 pop-up tent is a game-changer. It gives models a private, convenient space to change without the stress. If you have a place where you can plug in a curling iron and steamer, this is very helpful!
- Pack Mess-Free Snacks: Keep everyone fueled with water and simple, low-sugar snacks. Think trail mix, granola bars, or fruit. Save the sweets for a celebratory treat after the shoot. Have models eat before they are in clothes for the shoot. Avoid dyed foods and chocolate because it’s likely the models will eat while wearing the clothing.
- Simplify Props: Props can enhance a photo, but less is often more. If your backdrop and clothing are strong, don’t overcomplicate it. A clean, focused shot usually wins.
- Double Check The Details: Make sure you have the location details all ironed out if you are renting a space. Figure out the simple (and easily forgettable) details like if you need a key or need to sign paperwork before entering.
Step 8: Samples Finished
Getting your samples finished is a big deal, and there’s a lot to remember. You’ll need to stay in constant communication with your factory to ensure they know every detail of the samples you need. It’s essentially a mini production process.
You need multiple sets of samples: one for the reps, one for your own use, and one for the photoshoot. Add up all the garments, and that number can quickly hit over 1,000 samples for a large brand like Persnickety.
Samples can be a huge upfront cost, but the good news is you can recoup that money by hosting a sample sale at the end of the season. These are basically brand-new pieces, only handled by reps, so they’re still in great condition!
Step 9: Finalizing Outfits, Shots, and Model Compensation
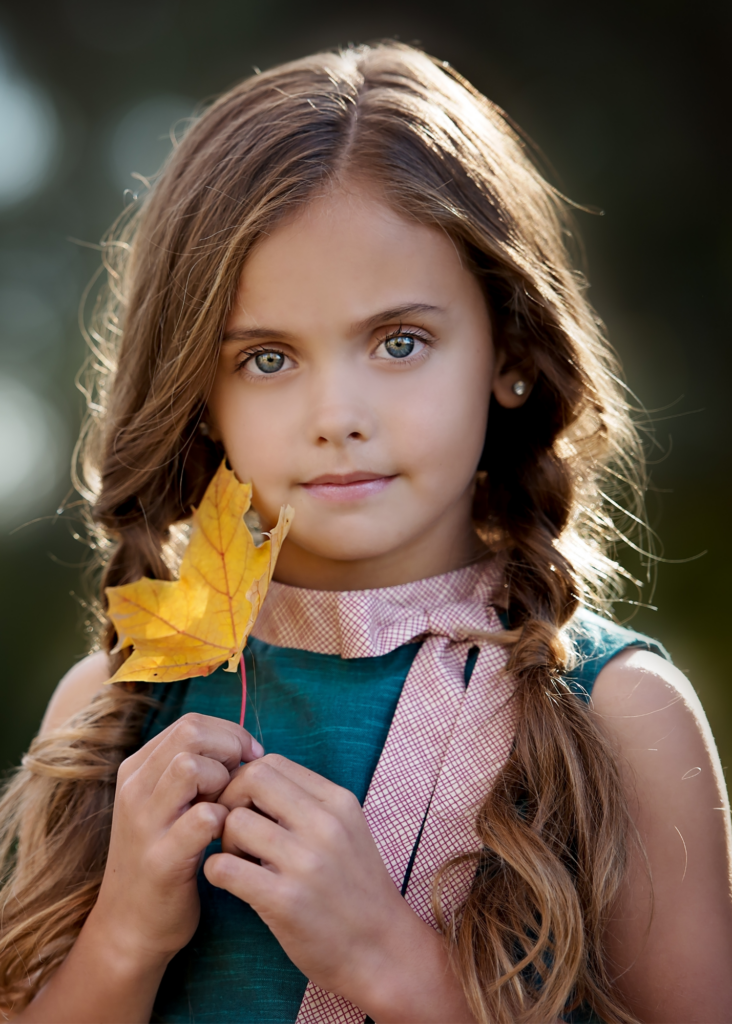
Once your models are confirmed and contracts are signed, it’s time to get everything organized: outfits, schedules, and who’s wearing what.
Here are some ways to stay organized before the shoot:
- Create an 8×10 PDF for each model that includes their photo, outfit line-up, shoes, and accessories
- Print these out and keep them in a binder for quick reference. One set for you and one set for the mom.
- List the model’s arrival time and the order of their looks
- Make sure the final outfit is the one used in any group shots so they don’t need to change again.
- Include notes to keep things clear
- Use photos for accessories as well, such as hair bows, headbands, and even specific shoes.
The more details you include ahead of time, the smoother everything flows on shoot day.
Another great thing to prep ahead of time is coupon codes or gift certificates for your models. You don’t have to do this before the shoot, but it really helps keep things smooth and professional. After a shoot, everything tends to get chaotic: emails, edits, logistics. So, having those codes ready means your models aren’t left wondering when they’ll receive their thank-you perk.
Step 10: Plan, Pack, & Organize
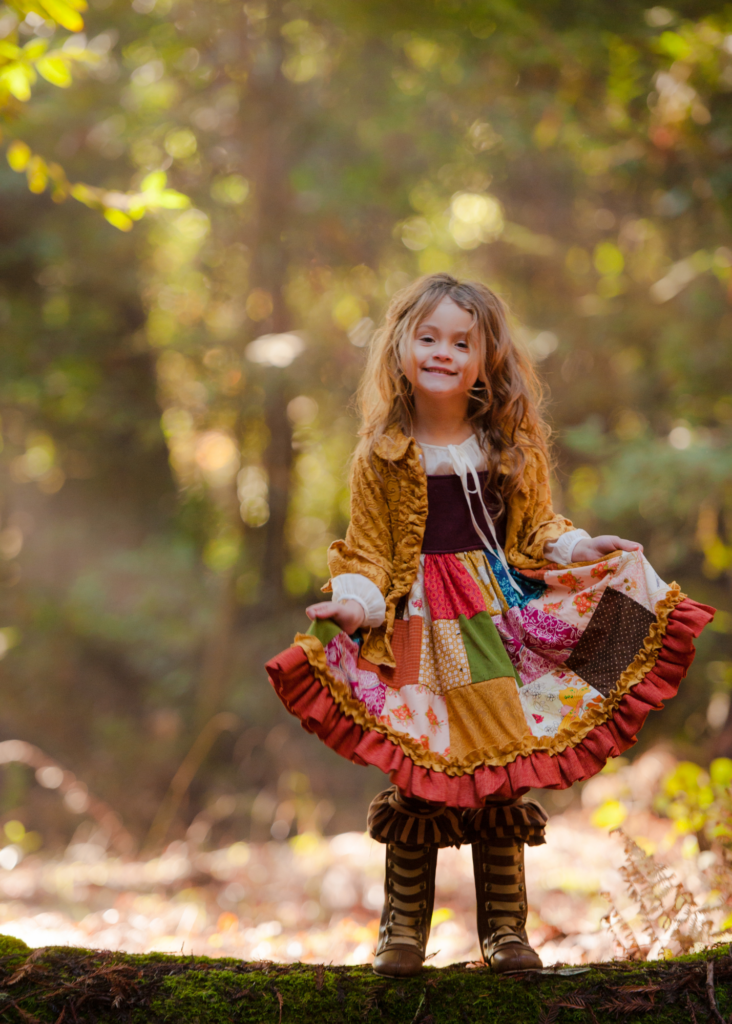
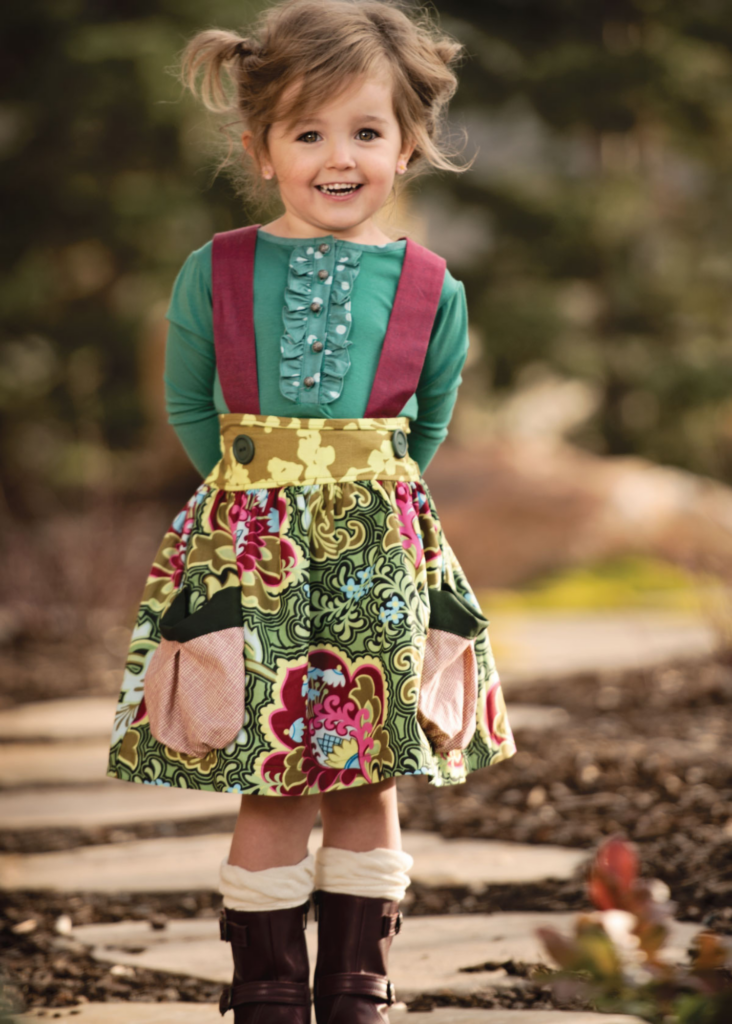
This part is definitely a team effort. First, make sure all your samples are accounted for and properly steamed. You might have to steam again on-site.
Pro tip: To pack, hang your outfits and cover them with garbage bags, just cut a hole at the top.Your assistant will need to keep track of what’s where and who wore what last. It gets complicated fast.
Now, what to bring:
- Hairspray
- Brush
- Bobby pins
- “Powder Play” by Big Sexy Hair (a favorite of mine because it keeps hair in place and gives volume)
- Safety pins
- Clothespins
- Scissors
You’ll need to stay near the model during the shoot. You’re in charge of fluffing clothes, fixing hair, and making sure everything looks right. The photographer can’t see every detail, so it’s your job to step in to help create the look and give guidance when needed.
What’s Next?
As the prep work wraps up, you’re probably wondering, “What’s next?” The real fun begins in the next part of this blog series, where the focus shifts to the actual photoshoot. This is where everything comes together: managing the models, keeping the outfits perfect, and ensuring the photographer captures the magic.
Stay tuned, because the next section will walk you through what happens behind the scenes to create those stunning shots you see in the final product!
Ready to tackle your first clothing brand photoshoot? If you need support, check out my mentorship program, Fruition. Inside this exclusive group for fashion designers, I walk you through each and every step – nothing left unsaid.
Check out Fruition today!


Read the Comments +