


")

Clothing Brand Photoshoot Part 1: Assembling the Right Team For Success
For some fashion designers, hosting a photoshoot is one of the most fun and exciting parts of owning a clothing brand. While for others, it’s the most stressful. I’ve truly learned so much after a decade of planning, organizing, and hosting photoshoots for my two brands. So, I’m explaining everything you need to know about clothing brand photoshoots!
This is part one of a 4-part series all about photoshoots for your fashion brand. In this post, we’ll deep-dive into assembling the right team for your photoshoot. Trust me, you cannot do this part alone. There are so many moving parts and various tasks that need to be planned ahead of time and executed perfectly on the day of the shoot.
Not to mention, you’ll need support when things go wrong (because something is bound to!) so you can make changes and still have the best photoshoot possible.
So let’s break down exactly who you need on your clothing brand photoshoot team and what their role will be.
Key Takeaways Ahead:
- Step 1: Plan Your Clothing Brand Photoshoot With The End In Mind
- Step 2: Assemble Your Photoshoot Team
- Step 3: Hire Your Photographer
- Step 4: Cast Your Models
- Step 5: Start Planning Your Clothing Brand Photoshoot
- Need More Support?
Step 1: Plan Your Clothing Brand Photoshoot With The End In Mind
Before you begin, get clear on your photoshoot goals. Are you doing a studio shoot, an outdoor lifestyle shoot, or a mix of both? Your location will impact your lighting, props, timing, and even the type of team you’ll need.
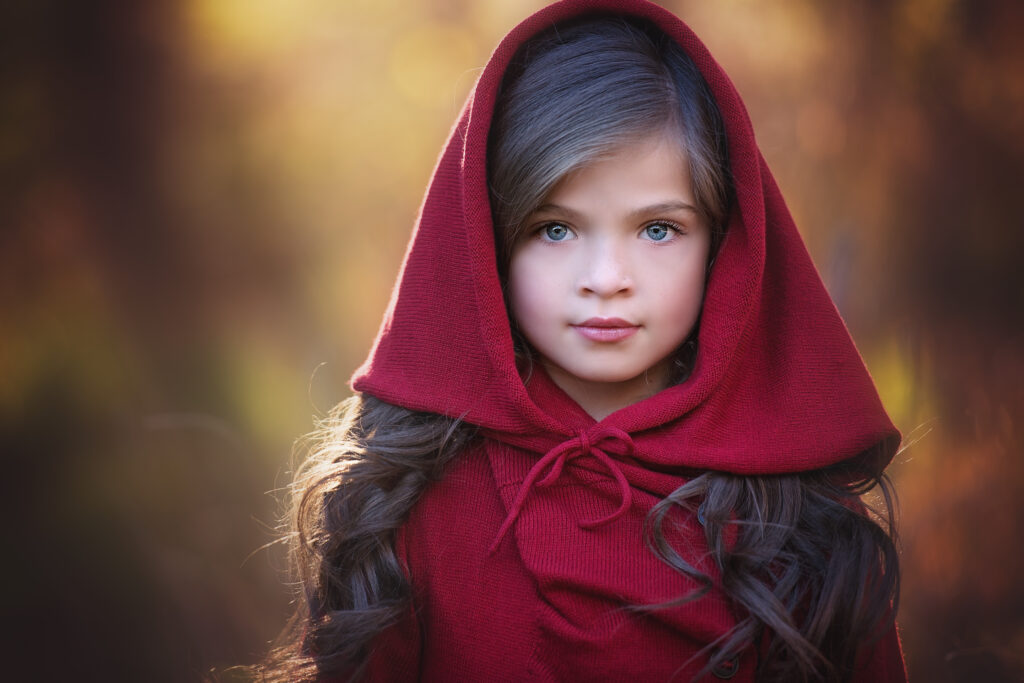
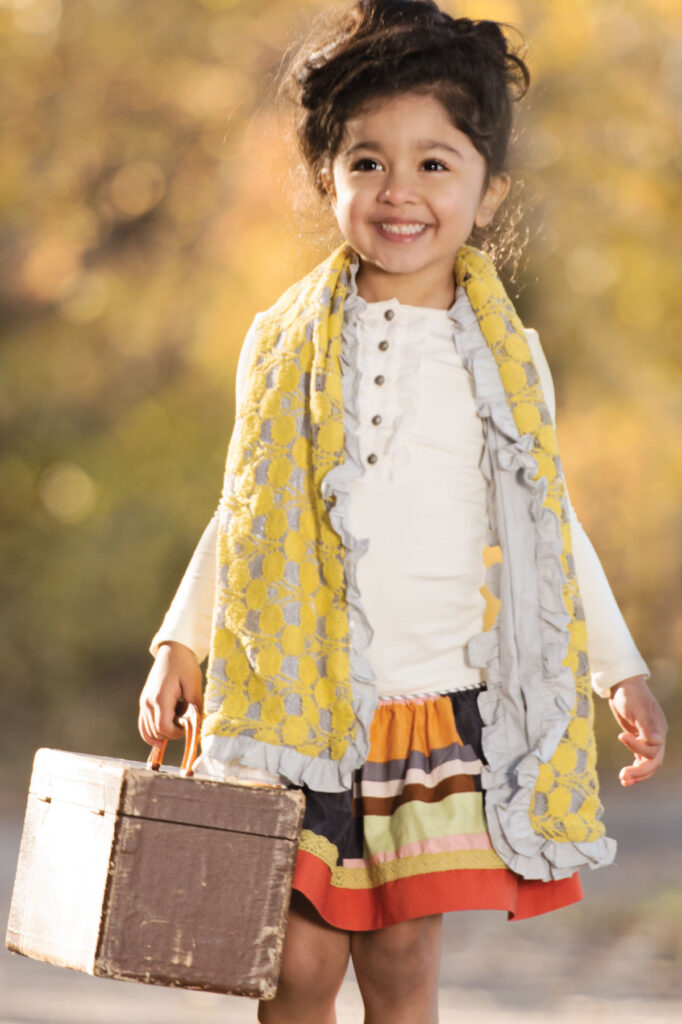
Lifestyle shoots create emotion and help tell your brand story. They’re ideal for showing how pieces are worn in the real world. Lifestyle shoots have always been my personal favorite for my own two brands. However, studio shoots focus more on clean product visuals. This might be just what you need to showcase your designs – choose what’s best for your brand style here.
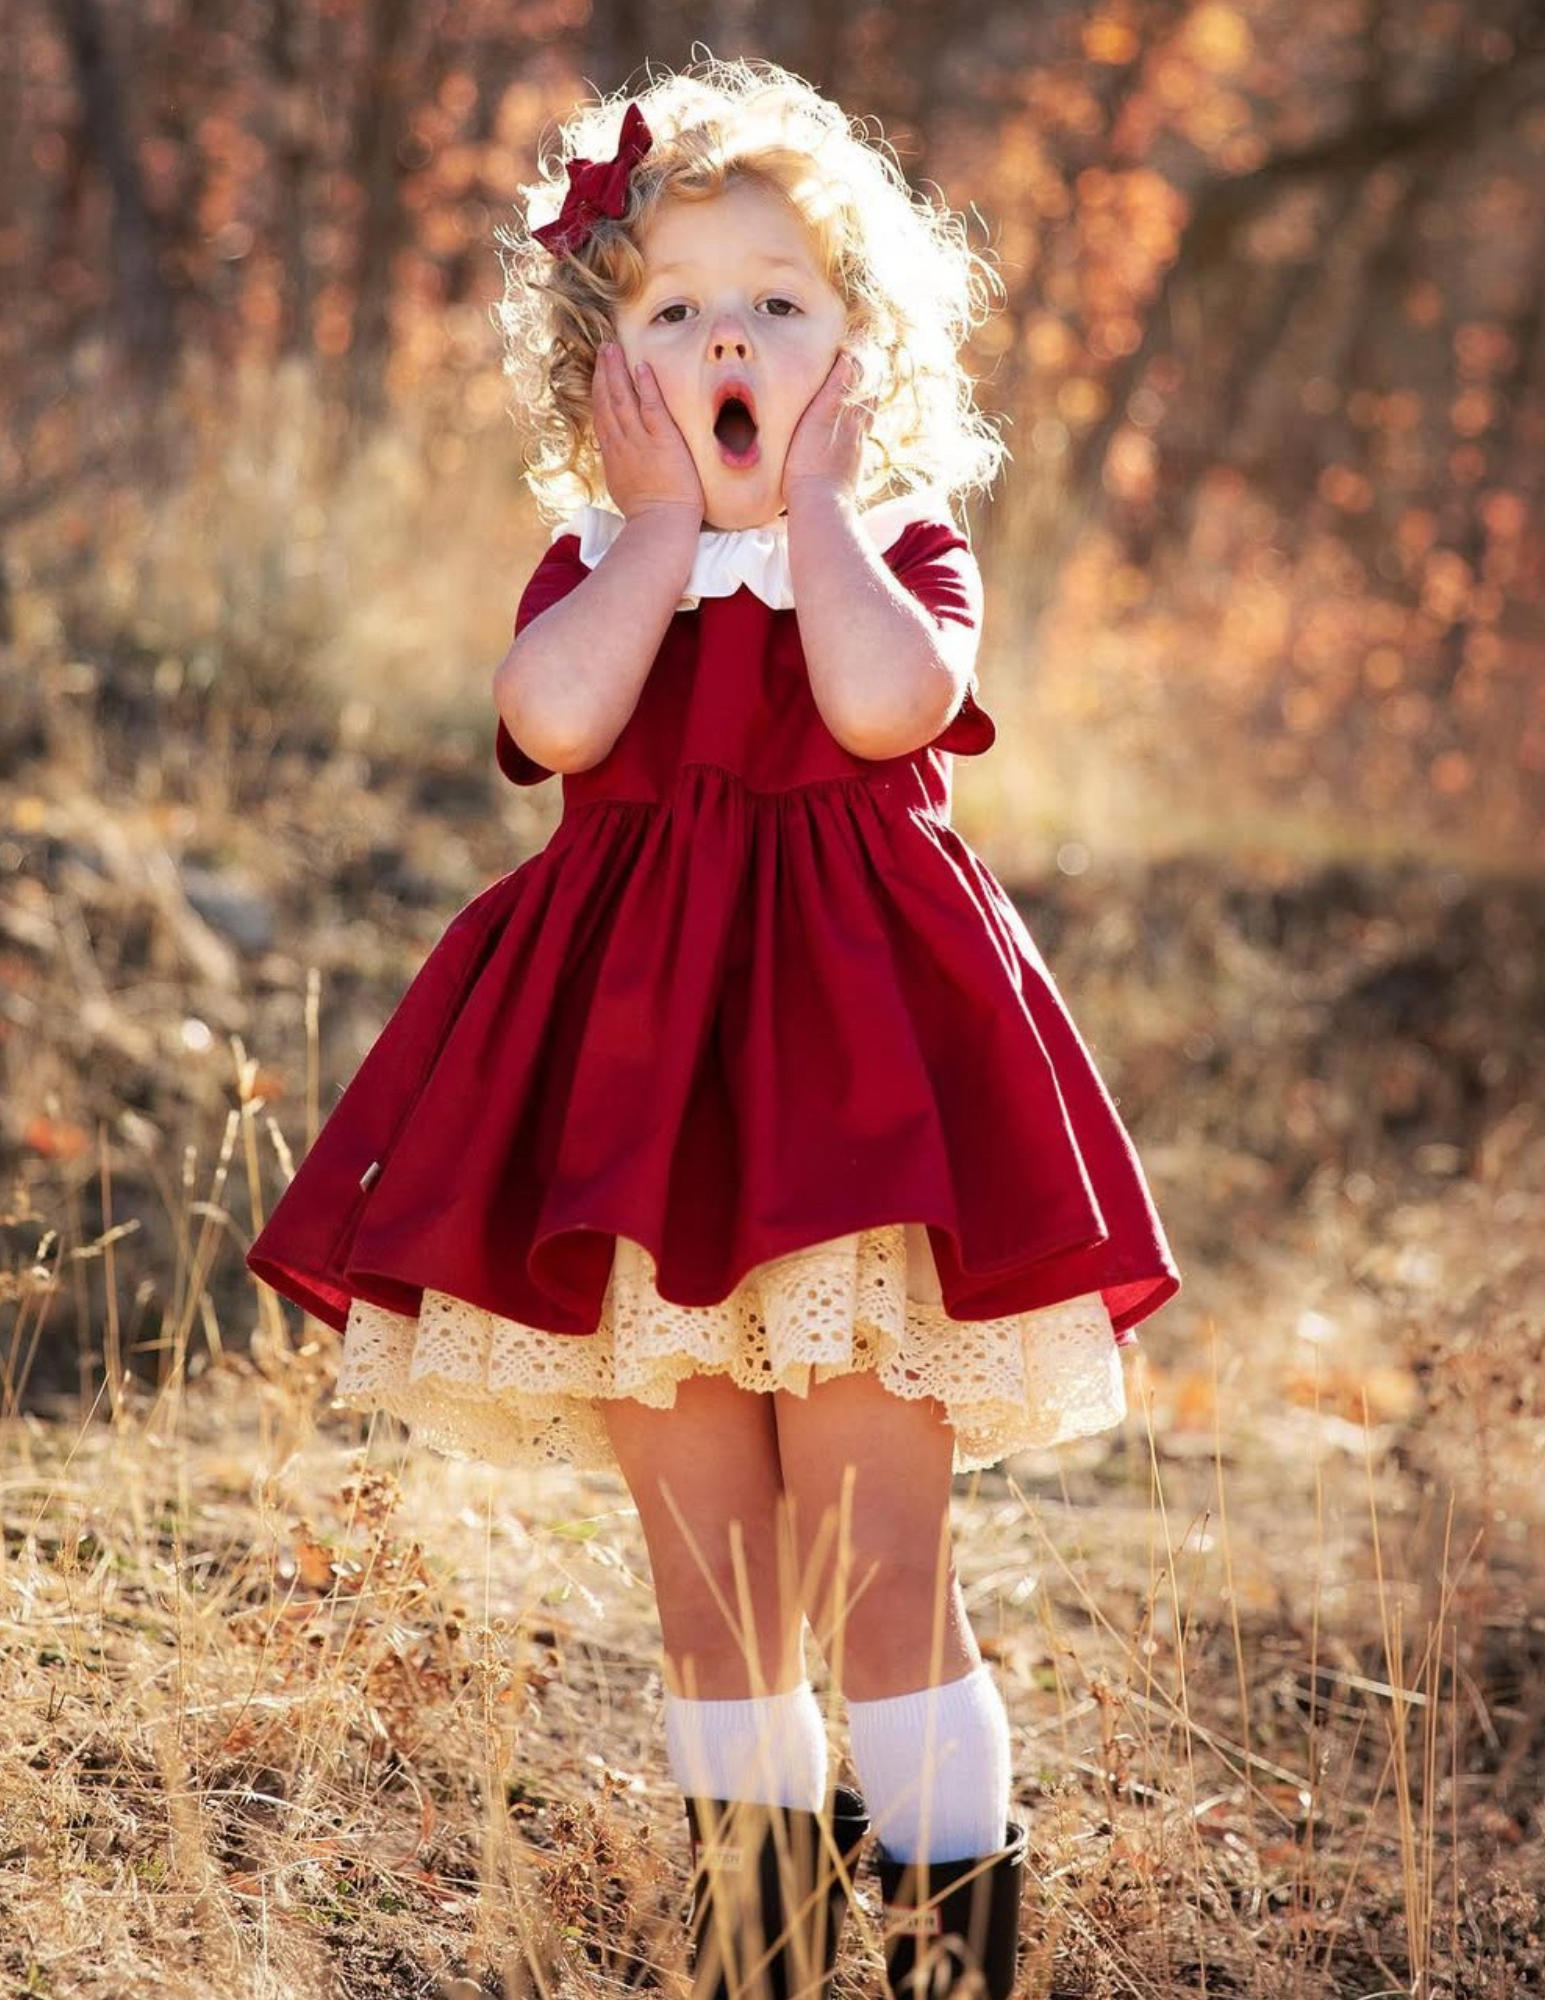
Images from my clothing brand, Persnickety.
Step 2: Assemble Your Photoshoot Team
I’m going to tell you from the start, you cannot tackle a full-blown photoshoot on your own. You’re going to want to hire some help. If you don’t have a large budget in the beginning, consider hiring family, friends, or neighbors for a low rate. Your team doesn’t need to be big, but it does need to be strong.
Ideally, you’d be able to fill all of these roles:
- Photographer: More on this next.
- Stylist (or you): You’ll likely style your own pieces at first, but having someone assist with dressing and adjustments can be game-changing. I personally always stay near the photographer during a shoot to ensure she gets the shots. I also help adjust the models’ clothing and hair as needed. It’s extremely helpful to have a stylist (or an assistant who takes on this role) who can manage the clothing and help dress the models as needed while you’re focusing on the shots.
- Assistant(s): At least one assistant is a must. They help with logistics, dressing models, setting up props, and managing kids and parents (if applicable). You’re going to be so wrapped up in what the photographer is doing that you’ll need someone who can be another “go-to” person for when things come up.
- Hair and Makeup: Optional (also depending on your models’ ages), but worth it if you’re aiming for polished looks. If your assistant can do this, great, if not, you’ll want to consider hiring someone. You can also request the models come with hair done, but you never know what you’re going to get. If you have a really specific vision, you’ll want to do the hair on-site.
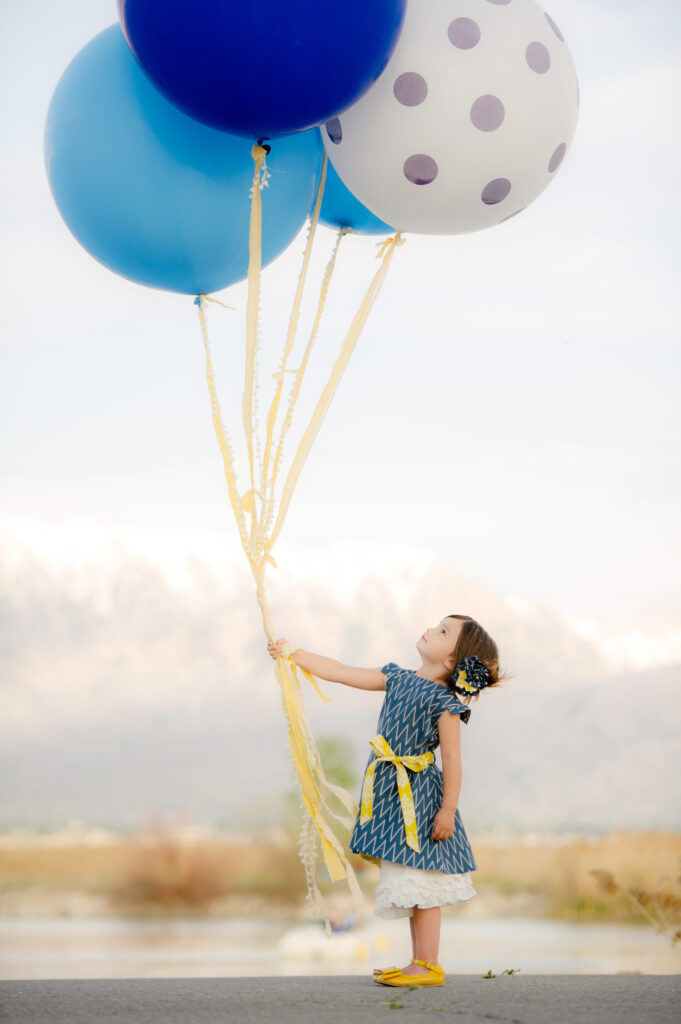
- Models: Choose models who align with your brand. If you’re shooting children’s clothing like I did, expect to work closely with parents and plan for snacks, breaks, and supervision.
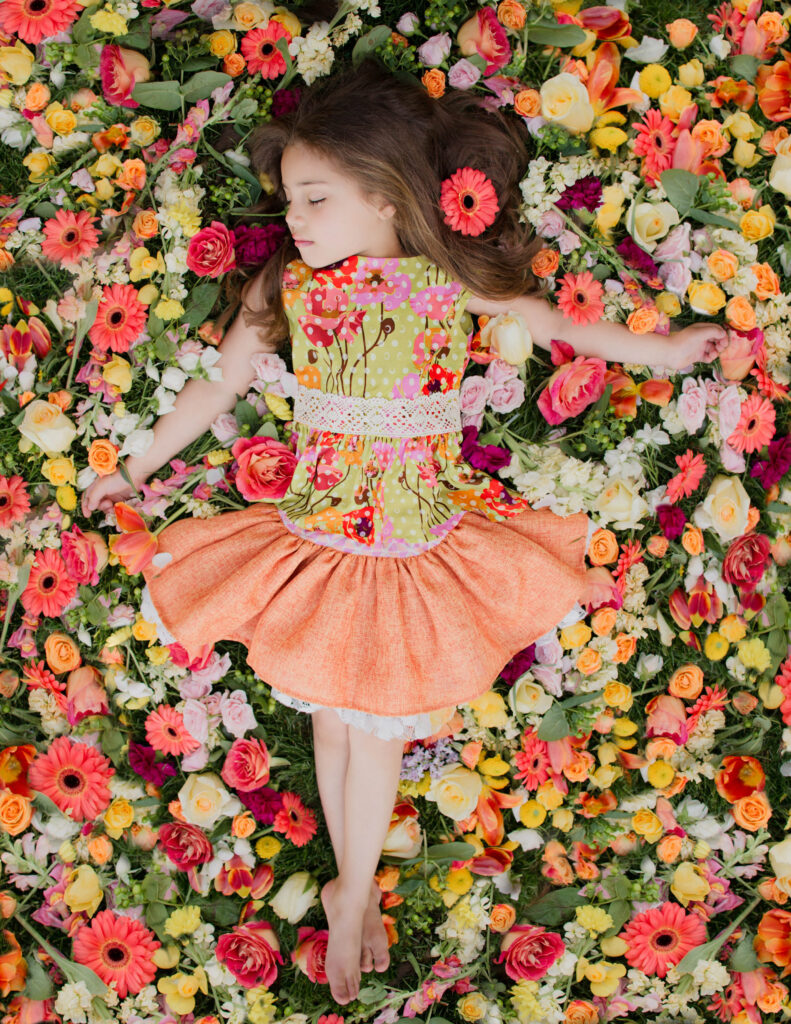
Images from my clothing brand, Persnickety.
Again, in the beginning, you might not be able to afford to hire professionals (or anyone at all) for these roles. Don’t let that slow you down! Get creative and see what personal connections you have that might surprise you. Ask around and see if anyone would be willing to participate for free (someone might be looking to build their own portfolio) or for an exchange of goods/services.
No matter how you do it, I truly can’t stress enough the importance of finding a good team. There are so many roles and responsibilities during the pre-shoot, shoot, and post-shoot (remember, this is only part one of four!) that need to be covered. For context, the least amount of people I ever hired to help with a photoshoot was two – and I can tell you, it was not enough!
Step 3: Hire Your Photographer
Yes, even though your photographer is part of your “photoshoot team” outlined above, I’m dedicating an entire section of this post just to finding the right photographer. Who you hire for this role has a direct impact on the final product (the photographs) and the end goal (to sell the product). Please don’t take this step lightly!
When you’re a new fashion designer and you don’t have a large marketing budget, it can be tempting to want to do it yourself, ask a friend or family member to come take your photos, or even hire an amateur photographer for a really low price. I highly recommend you don’t cut corners here! If you only have the budget to hire one professional for the photoshoot, let it be the photographer.
Why This Matters
Remember the end goal here: to take the right photos that will sell your clothing. You’re not just hosting an entire photoshoot for fun! You’ll want to choose a professional with actual experience photographing clothing, not just anyone with beautiful photos in their portfolio.
The techniques and skills are different when photographing different objects. For example, I would never hire a food photographer for my children’s clothing shoot. Capturing the details of the garments and representing their true colors (while still capturing the beauty of the model!) is more technical than you would think.
Be sure to discuss the photoshoot concept as you’re interviewing photographers. Be as specific as you can here to make sure you are on the same page with the photographer.
- For example, if you’re envisioning a spring shoot in nature, are you imagining going to an orchard, a greenhouse, or a flower patch?
- Start to map out as much of the vision as possible so you can communicate your vision to the photographer (and everyone else on your team).
→ Pro Tip: If you haven’t started designing your collection yet, stop and consider the photoshoot first. I always loved to let my final vision of the photographs (the location, the season, elements in nature, etc) influence my designs. Learn more about the early stages of fashion design here.

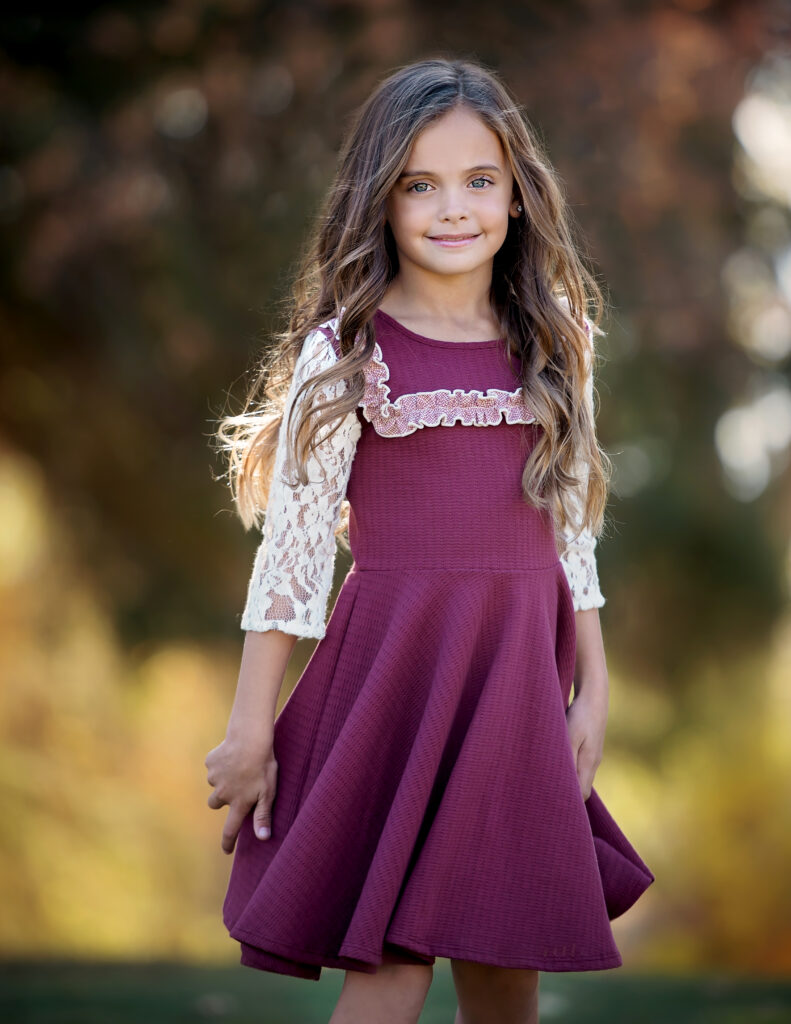
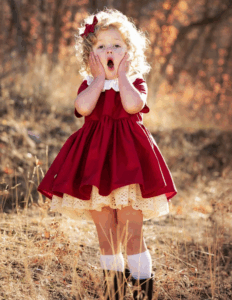
Images from my clothing brand, Persnickety.
Step 4: Cast Your Models
Now that you’ve nailed down the perfect photographer to capture your vision, you need to figure out who’s wearing the clothing! As a beginner, I recommend starting small here – you can ask around to friends, family, neighbors, or anyone else in your town who might be willing to participate in a gorgeous photoshoot.
For my two brands, we always hired our models professionally by posting a casting call. This is something I recommend for larger clothing brands, but not quite yet for beginners.
No matter where you find your models, you’ll need some specific information before you can make any decisions. My examples below are for casting child models because my two clothing companies sell children’s clothing. You can adapt these tips to fit your own brand.
When casting, ask for the following details:
- Age and size: Be very specific here to ensure you can capture exactly the look you’re trying to achieve.
- For example, don’t just say “I’m looking for a girl who wears size 3”. Instead you could say, “I’m looking for a three-year-old girl who fits into a size 3.”
- This way, you can get the exact age and size you’re expecting for the photoshoot.
- Measurements: You’ll want to get as many measurements as possible during the casting process to ensure that the garment fits the child as you’re expecting (for example, if you want a dress to hit right at the knee instead of above or below). In my experience, it wasn’t uncommon for someone to say their child was a size 3, but they actually fit into a size 5 or a size 18-24 month. I recommend getting the following measurements from each model:
- Waist
- Chest
- Full height
- High point shoulder to knee
- Recent photos: It’s important to see what the model looks like, but always take their photos with a grain of salt.
- People will most likely send you a handful of their best photos of the child, but looks are only one piece of the puzzle. I’ve met absolutely beautiful children who got very shy and uncomfortable around the camera. This doesn’t result in the same quality of photographs compared to a child who’s naturally relaxed and photogenic.
- Phone interviews can be helpful so you can interact with the child and see more of their personality. If possible, I suggest asking your photographer for model recommendations. Once you find a few that really work well for your brand, keep asking them to come back!
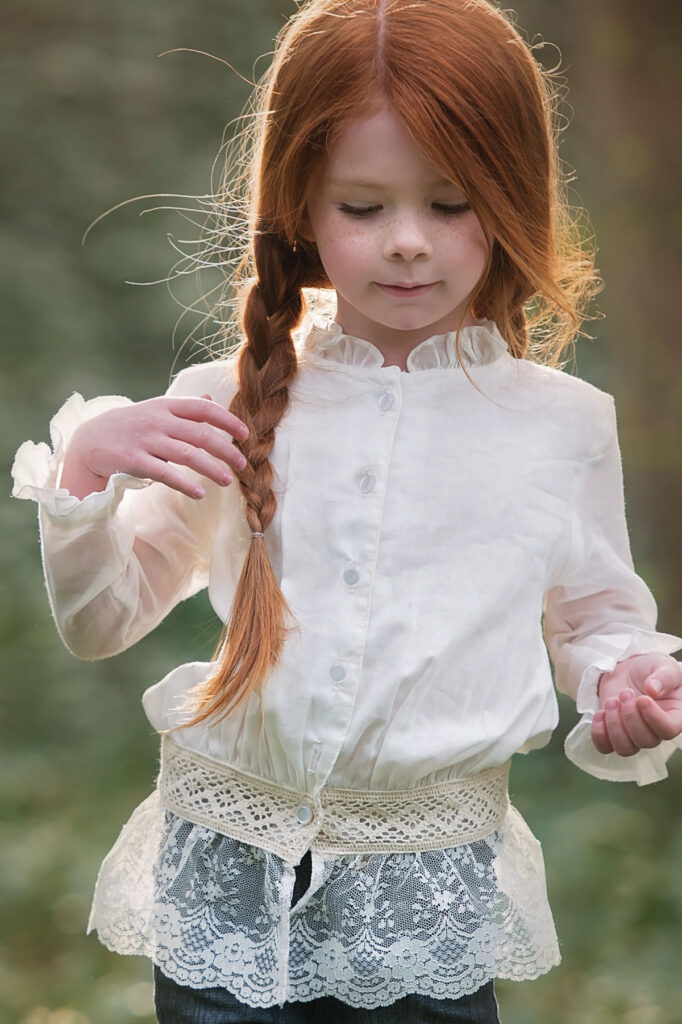
Images from my clothing brand, Persnickety.
Step 5: Start Planning Your Clothing Brand Photoshoot
Once you’ve gotten to this point, and you’re happy with the team you’ve assembled for your photoshoot, it’s time to get planning. Check back next week for part two, where I’m explaining how to plan and organize the pre-shoot details. You won’t want to miss it! *Head to part two now – all about planning and organizing the pre-shoot details.
Need More Support?
If you found yourself loving this topic but feeling overwhelmed by it all, consider checking out my coaching program for fashion designers, Fruition. Inside this exclusive group, I give you the exact step-by-step roadmap for how to launch your own clothing brand from scratch. I walk you through absolutely everything (including your clothing brand photoshoot!), so you don’t get stuck in the details.
Learn more about Fruition here.


Read the Comments +