


")

Fashion Designing Phase 1: Conceptualizing, Sketching, & Refining
Wondering how to design your first collection as a clothing brand owner? The fashion designing process doesn’t have to be scary – I’ll walk you through phase 1 (conceptualizing, sketching, and refining) in these 7 easy steps!
Key Takeaways Ahead:
- Step 1: Gather Inspiration
- Step 2: Define the Mood & Style
- Step 3: Sketch Your Designs
- Step 4: Refine & Perfect Your Designs
- Step 5: Digitize Your Designs
- Step 6: Edit & Finalize the Collection
- Step 7: Prepare for Production
- More Fashion Designing Resources To Support You
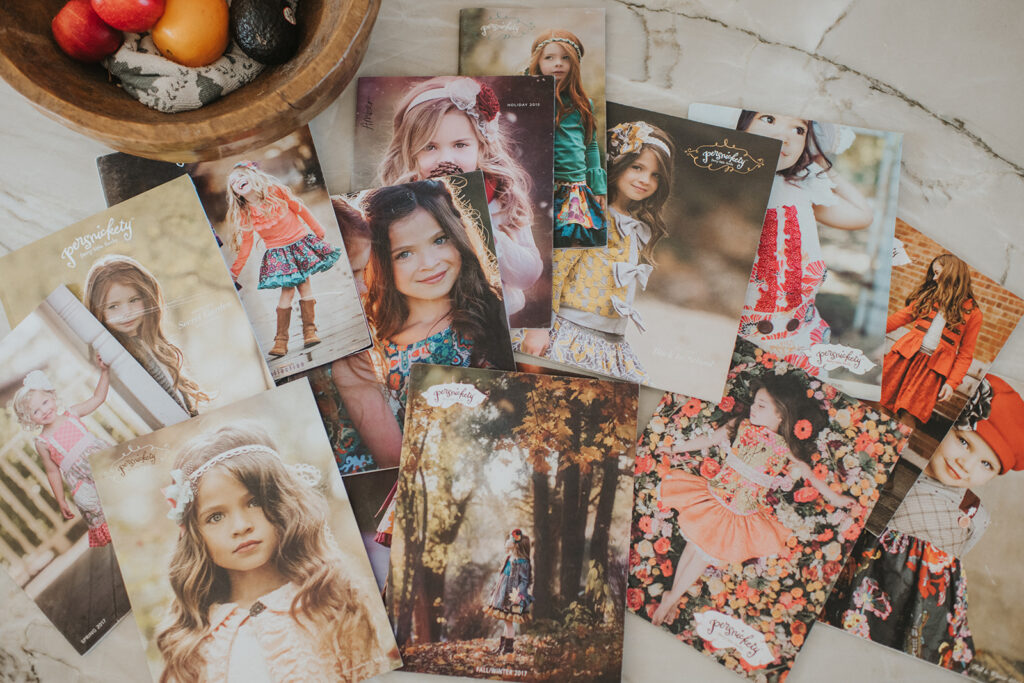
Step 1: Gather Inspiration
Before diving into sketches, start by gathering your ideas. Inspiration can come from anywhere – fashion, nature, architecture, or even food. Platforms like Pinterest and Canva Whiteboard are perfect for organizing your thoughts into a digital mood board. This helps you see what elements belong together and which ones to ditch for this collection. I promise that using this method helps you truly enjoy the fashion designing process!
What To Do:
- Create a Pinterest board for your collection (e.g., “Spring 2025 Inspiration”).
- Save images of colors, textures, moods, and design elements that inspire you.
- Don’t hold back here – anything can inspire your designs from a beautiful sunset to a particular era in history.
- Use Canva to extract a color palette from your inspiration images (or check out an entire deep-dive on using nature to inspire your color palette here).
- Consider the different parts of the garment, too (collars, sleeves, bodices, etc.) and search for examples of them to incorporate into your collage.
- Think about the aesthetic of your photoshoot. Where will you showcase your designs? This helps in deciding your collection’s overall vibe.
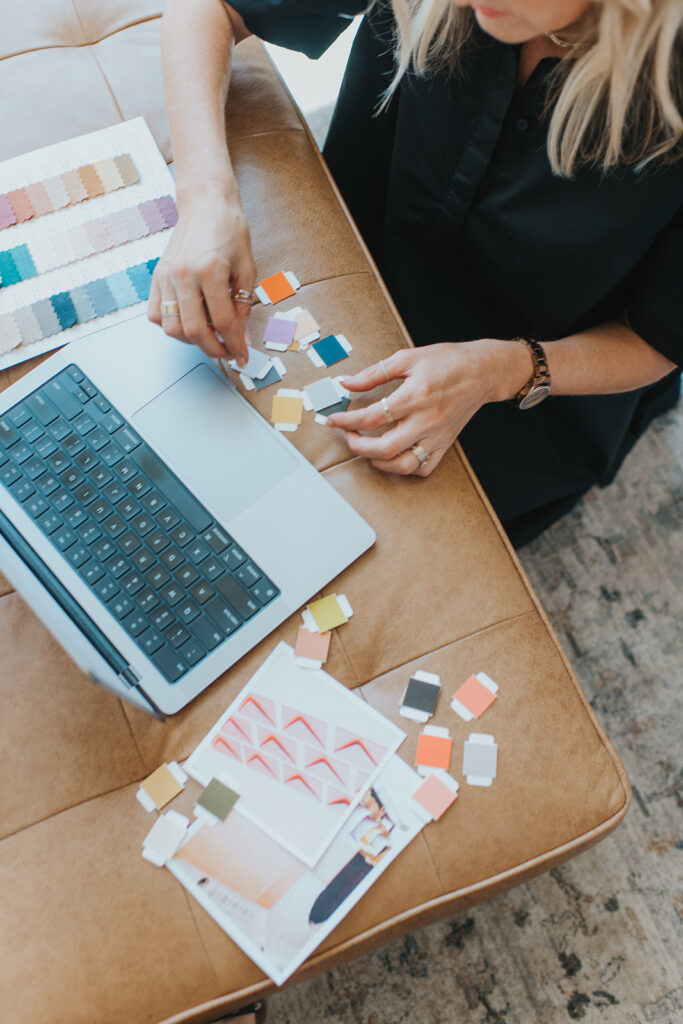
Step 2: Define the Mood & Style
With your inspiration board ready, it’s time to narrow down your theme. What’s the overall vibe you want to create? Romantic? Minimalistic? Edgy? Defining a clear aesthetic helps ensure your collection feels cohesive. Be sure to consider your brand’s Signature Style Blueprint (full step-by-step instructions here) during this early phase.
What To Do:
- Eliminate anything that doesn’t align with your vision.
- Create a virtual or physical mood board with your final selection.
- Start thinking about key design elements like silhouettes, fabrics, and textures.
Step 3: Sketch Your Designs
Now comes the fun part – sketching! This is where you take the inspiration and start putting your ideas on paper if you don’t use Adobe Illustrator (or on your iPad if you have one). Don’t be afraid to experiment with collars, sleeves, or unique design details. Consider which patterns you may already have that you can repurpose for this new design, or start from scratch if you need to.
What To Do:
- Let your creativity flow without judgment – first drafts don’t have to be perfect. If you can’t draw well, that’s okay – you can explain things to your pattern maker and use images where you need.
- Use an iPad, Procreate, or sketch by hand.
- Think about practicality: Does your fabric stretch, does it need a zipper, buttons, or elastic?
- Visualize how the fabric will drape and move (full guide to choosing the right fabrics for your designs here).
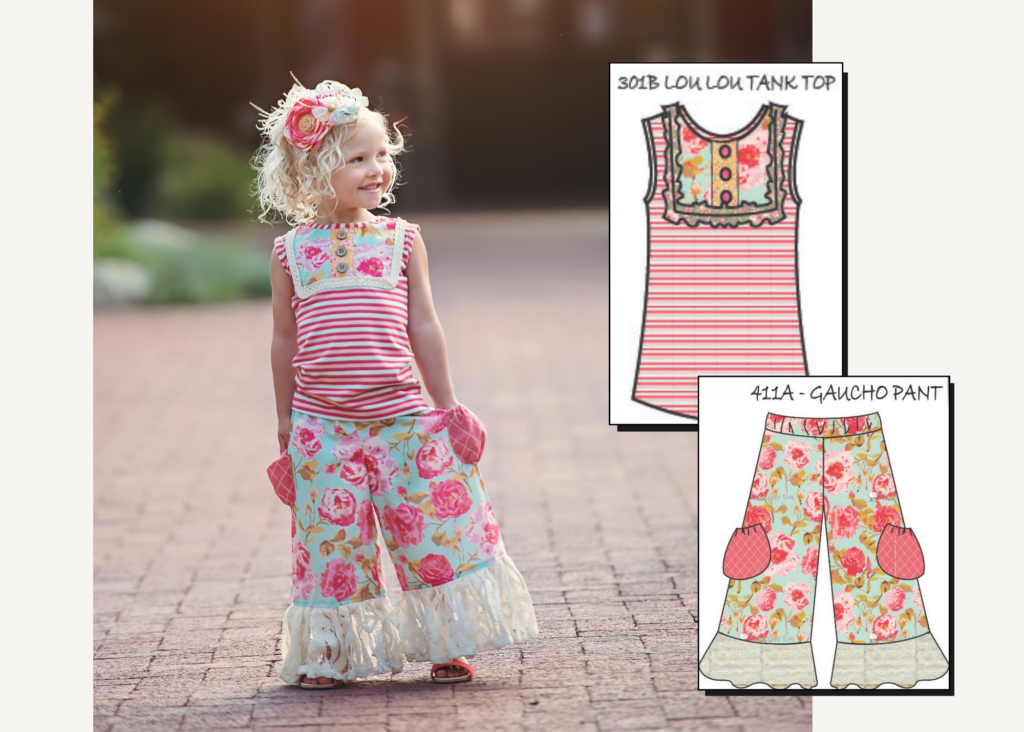
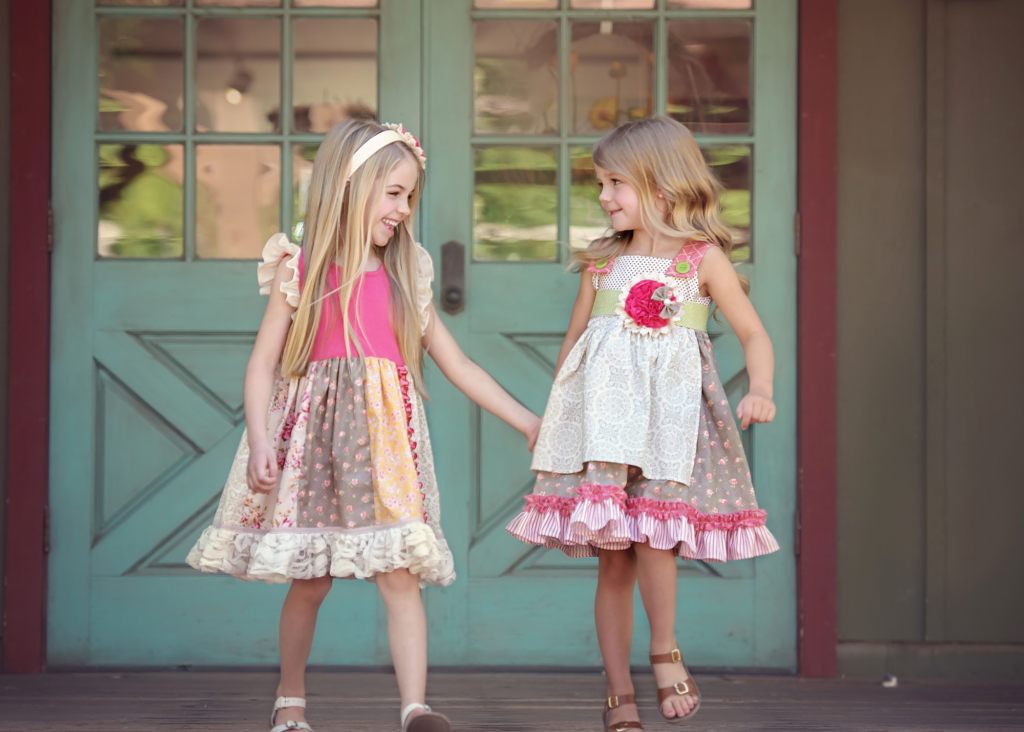
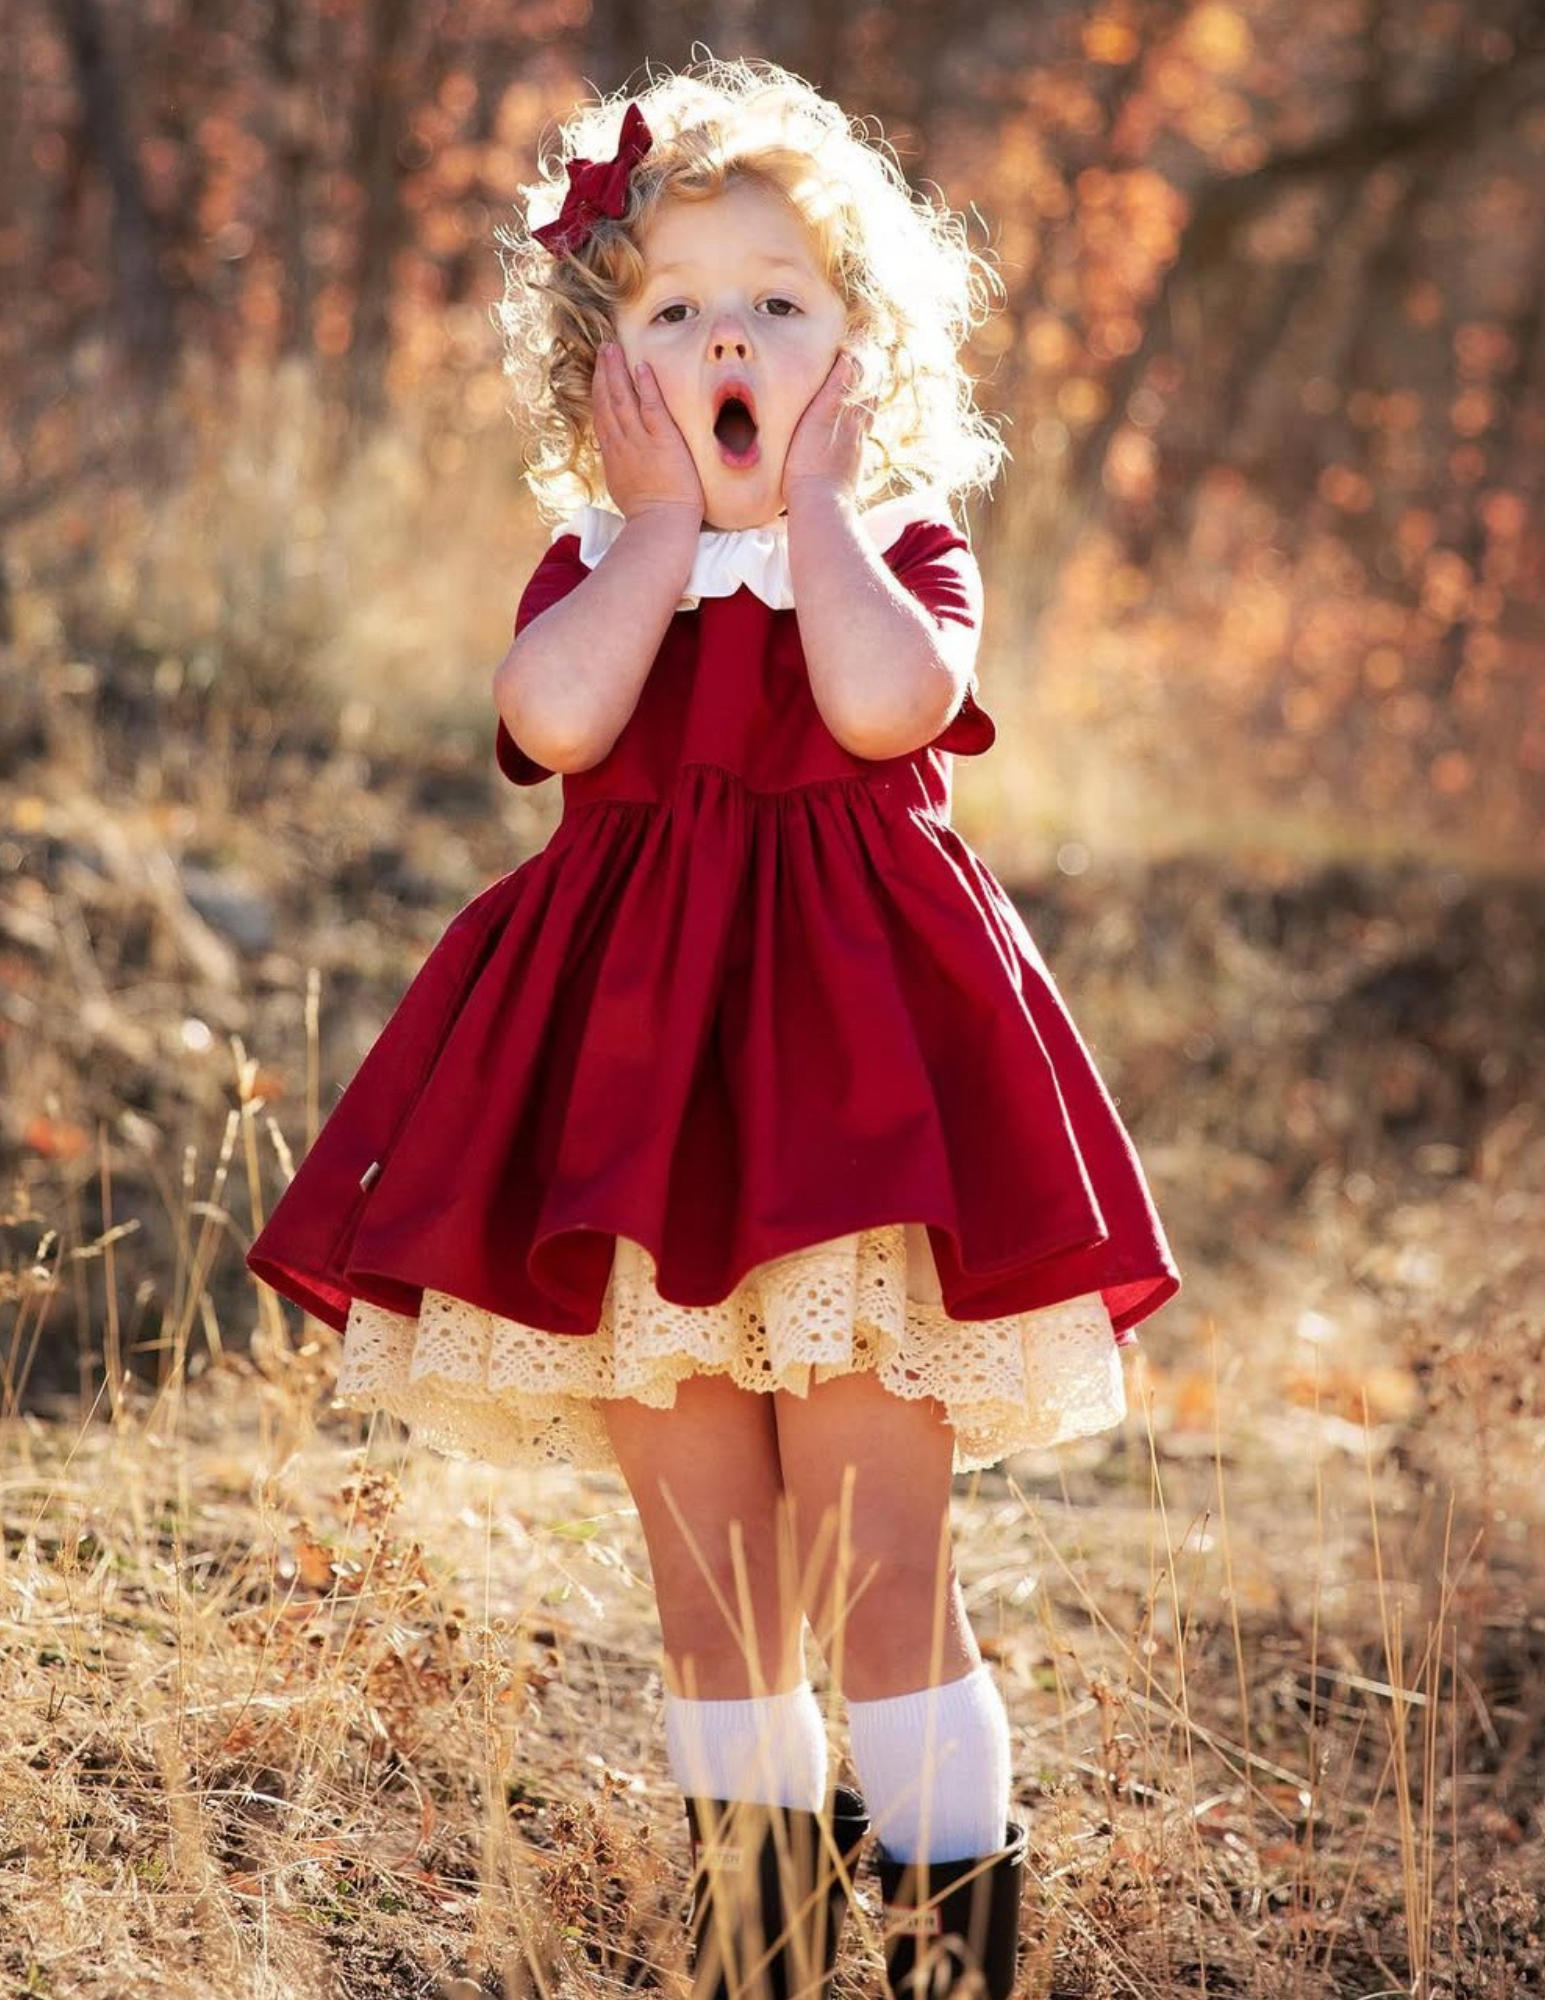
These are real sketches and garments from my own clothing company, Persnickety.
Step 4: Refine & Perfect Your Designs
After sketching, it’s time to refine. Look over your designs and ask yourself important questions: Will it be comfortable? How does the fabric interact with the design? What unique touches will make it stand out?
What To Do:
- Add signature elements like a special stitch, embroidery, or unique fabric choices.
- Consider customer appeal – why would someone pick this design over others?
- Double-check your fabric selections to make sure they work with your design (I promise, this step becomes second-nature with more experience).
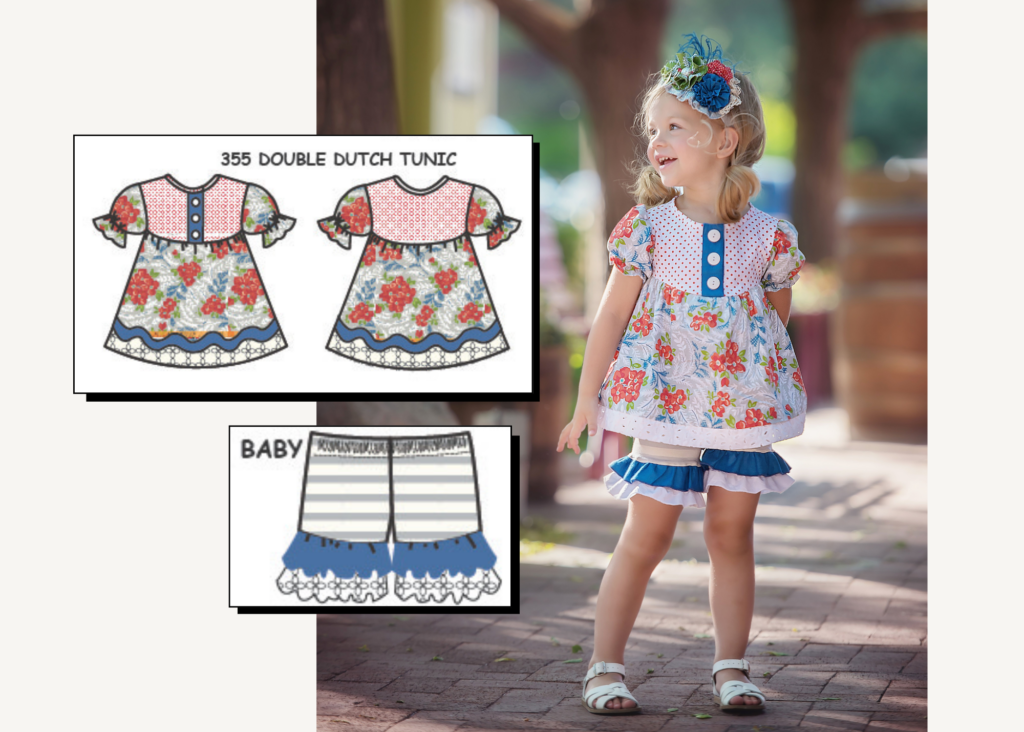
These are real sketches and garments from my own clothing company, Persnickety.
Step 5: Digitize Your Designs
Now that you’ve finalized your sketches, it’s time to digitize them. Tools like Adobe Illustrator or Procreate are great for creating technical flats and adding digital fabric swatches. If you don’t use those tools yet, it’s okay – you can make detailed sketches and attach actual fabric swatches to the pages indicating fabric placement.
Either way, just know that it’s tough to visualize the actual garment and how it will look on a human being compared to the sketches. This is something I had to get used to as a new designer – you will eventually get better at this!
What To Do:
- If you’re new to Illustrator or Procreate, start with basic templates or consider hiring a freelancer.
- Create a front and back view of each design.
- Play around with different fabric placements and color combinations.
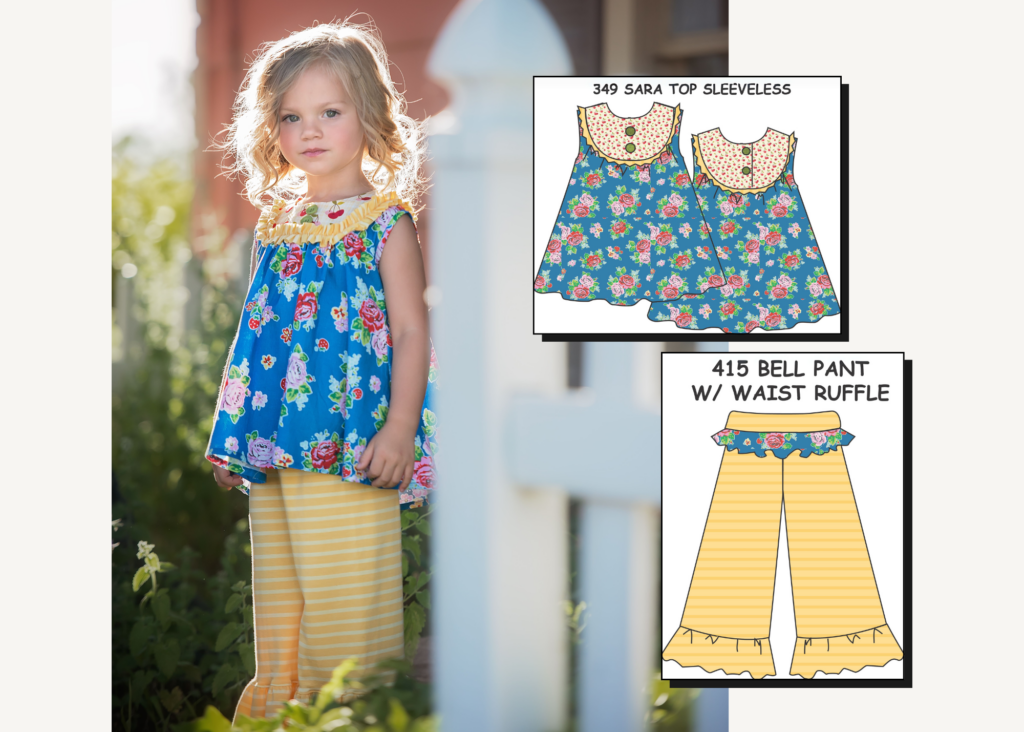
These are real sketches and garments from my own clothing company, Persnickety.
Step 6: Edit & Finalize the Collection
At this stage, take a step back and evaluate the entire collection. Does everything feel cohesive? Are some designs unnecessary? Eliminating weaker pieces will strengthen the final lineup.
What To Do:
- Take this opportunity to play with the different fabrics, color palettes, and details before finalizing the designs.
- Step away for a day or two before making final decisions – fresh eyes help!
- Seek feedback from trusted peers, mentors, or potential customers.
- Adjust anything that doesn’t align with the collection’s theme or functionality (or your brand’s Signature Style).
Step 7: Prepare for Production
With your collection finalized, you’re ready to move toward manufacturing and production. This involves sourcing fabrics, creating patterns, and making initial samples. We’ll cover all of these details in the Fashion Designing Phase 2 breakdown. For now, consider these next steps:
What To Do:
- Decide if you will go with full-service manufacturing or contract manufacturing. Be sure to check out my deep-dives on both options to help you choose!
- Work with a pattern maker to ensure the fit and quality are perfect.
- Get ready to dive into the production process!
More Fashion Designing Resources To Support You
I hope this step-by-step explanation of the beginning stages of fashion designing was helpful! The creative design process is truly so much fun and definitely one of my favorite parts of being a clothing brand owner.
If you’re looking for more resources on starting your own clothing company, branding, marketing, sales, and so much more, check out these posts.
And if you’re in need of more 1-on-1 support and guidance throughout the process, check out my mentorship program for new and aspiring fashion designers, called Fruition.


Read the Comments +