


")

Clothing Brand Photoshoot Part 3: What To Do During and After The Shoot
Welcome to Part 3 of the series on planning your clothing brand photoshoot! If you’ve been following along, Part 1 focused on assembling the right team to bring your vision to life, and Part 2 broke down all the essential pre-shoot planning steps to keep things running smoothly.
Now, it’s time to step behind the lens and get into the big moment…The actual shoot. This is where all the prep pays off and your brand starts to visually come together.
Let’s get into what the photoshoot day really looks like and how to make it count.
Key Takeaways Ahead:
Step 11: Prep the Location
Step 12: Set Up Props
Step 13: Keeping Things In Check
Step 14: Take Down & Clean Up
Step 15: Flat Lays
Step 16: Post Shoot
Step 11: Prep the Location
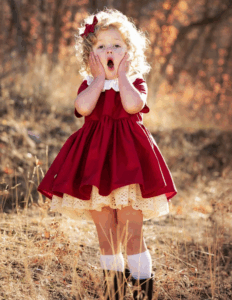
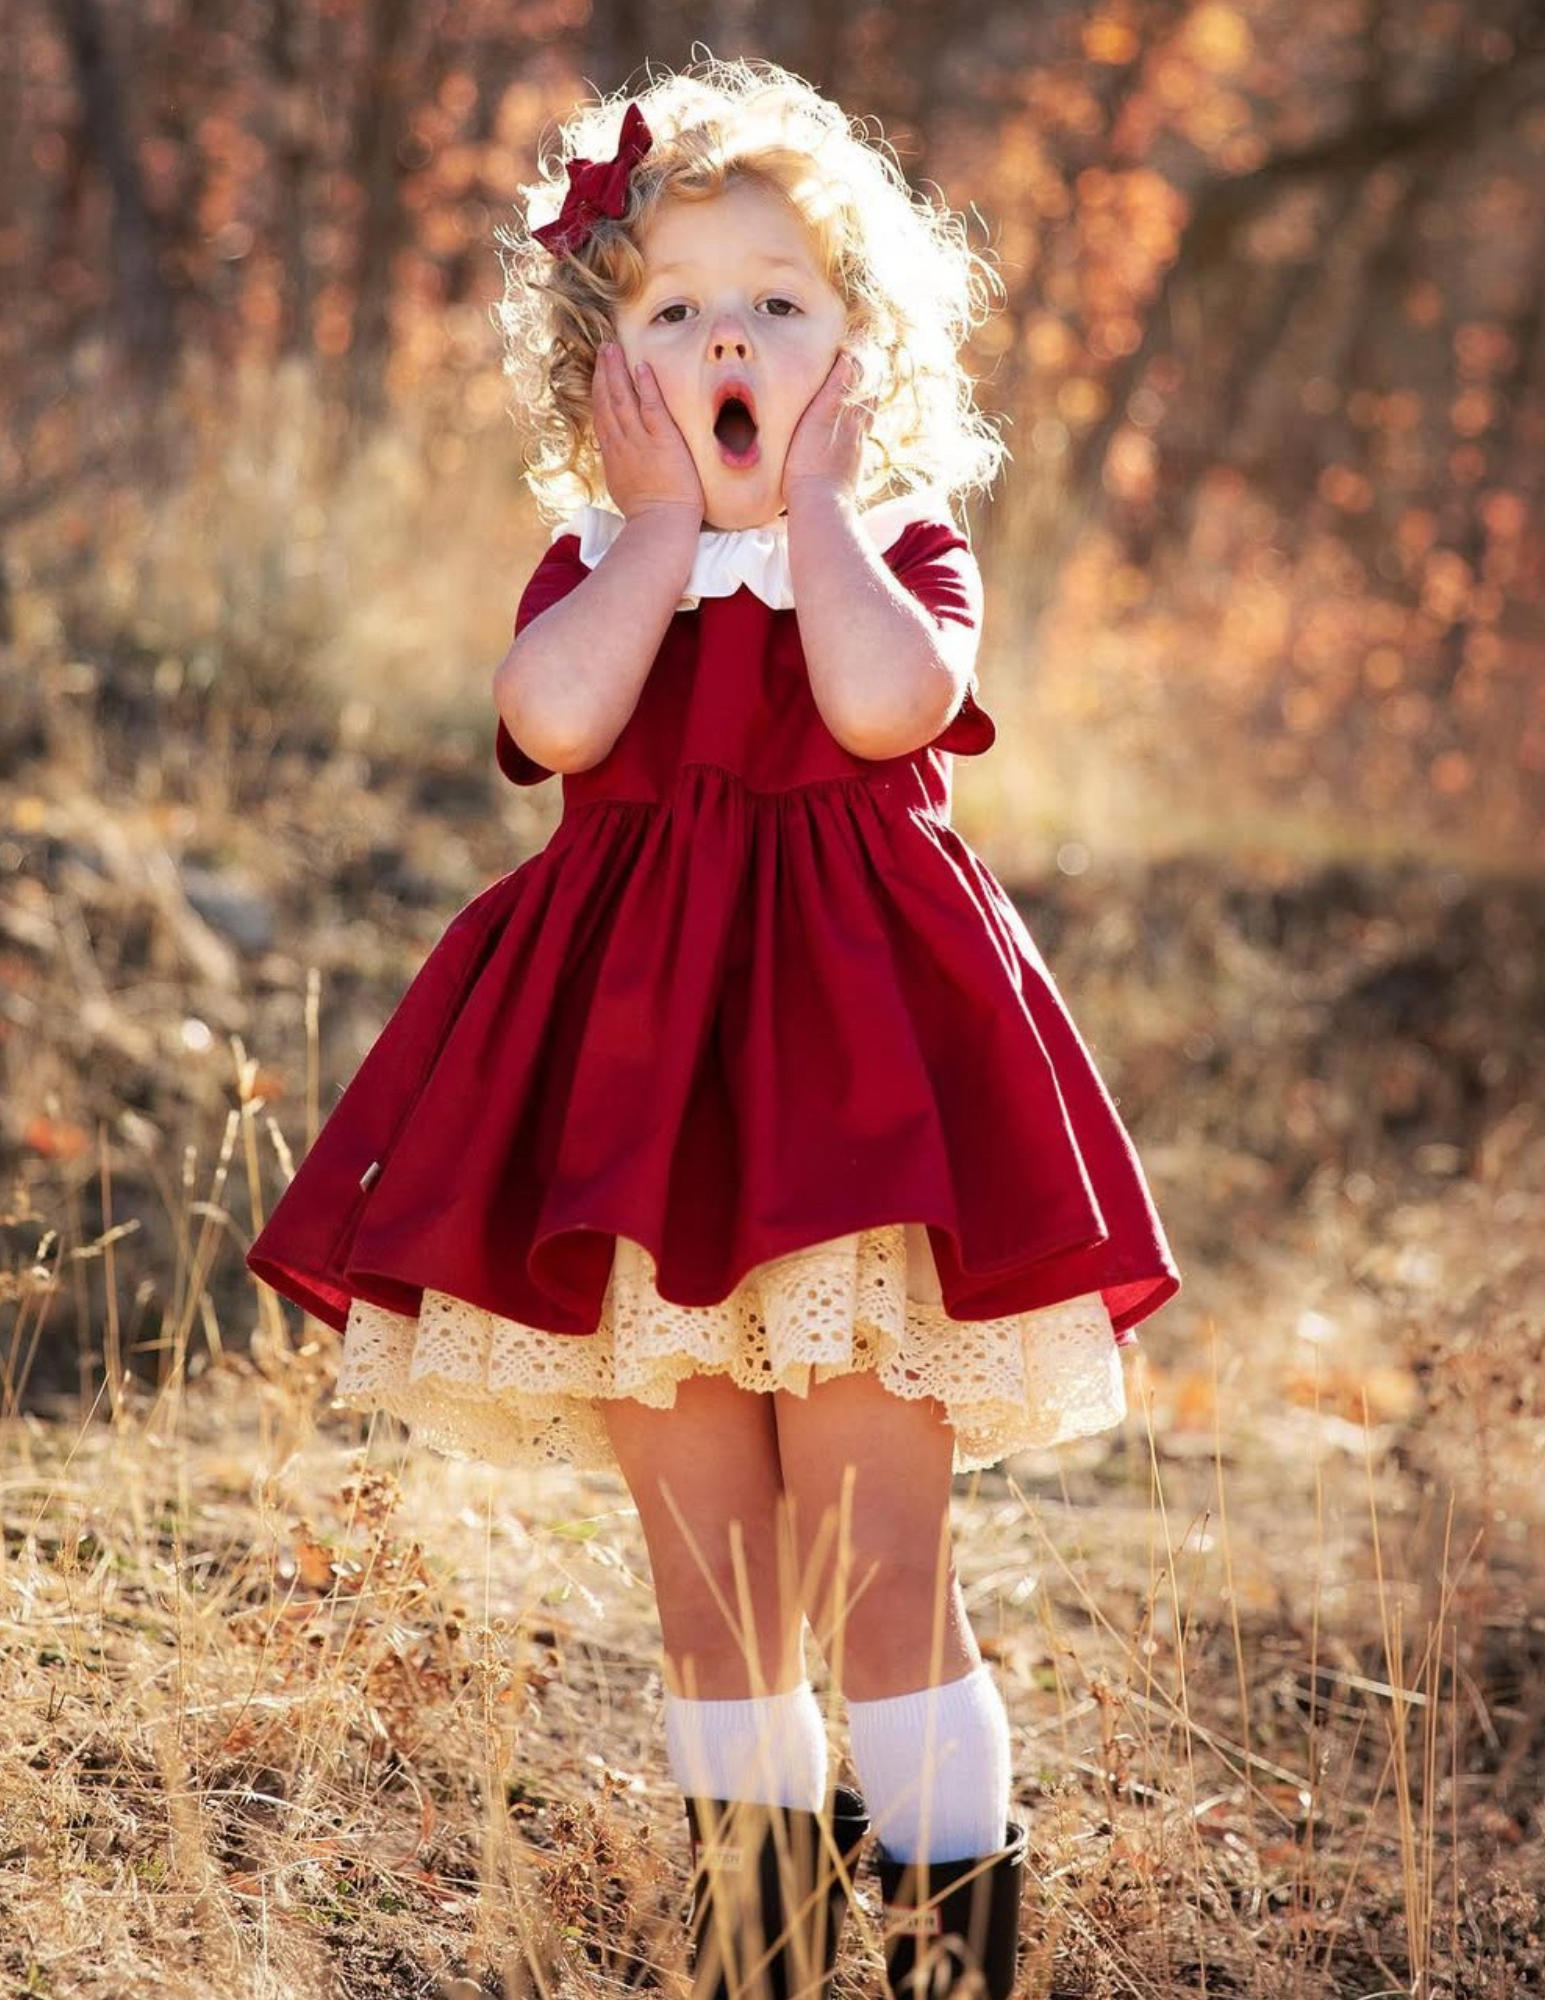
You probably picked your shoot location for your clothing brand photoshoot ages ago. But don’t skip checking it out again before the big day. Just because it looked perfect last month doesn’t mean it still does now. Maybe the grass decided to go full jungle mode, or a random pile of branches showed up right where you planned to shoot.
Even though the photographer usually does the scouting, it’s never a bad idea to swing by yourself. Take a quick walk through and clear anything weird or in the way. And honestly, don’t be shocked if you’re still moving stuff mid-shoot. It’s all part of the chaos and charm of a real-deal clothing brand photoshoot.
Step 12: Set Up Props
You don’t need props to take great photos, but they can add a fun or personal touch if used correctly. Big balloons, a basket of wildflowers, a vintage suitcase, stuff that gives your shoot a little personality without overdoing it.
Plan ahead. If you’re going for a specific vibe, think through what will actually support that look. Just don’t add too much. Clutter shows up quickly in photos.
Props should help tell your story, not distract from it. And don’t forget to talk to your photographer ahead of time so you’re both on the same page.

Step 13: Keeping Things In Check
There’s a whole lot more going on behind the scenes of a photo shoot than most people realize. I would say it’s basically controlled chaos, with an emphasis on “controlled.” But, there are plenty of ways to keep things running smoothly and everyone (including yourself) sane:
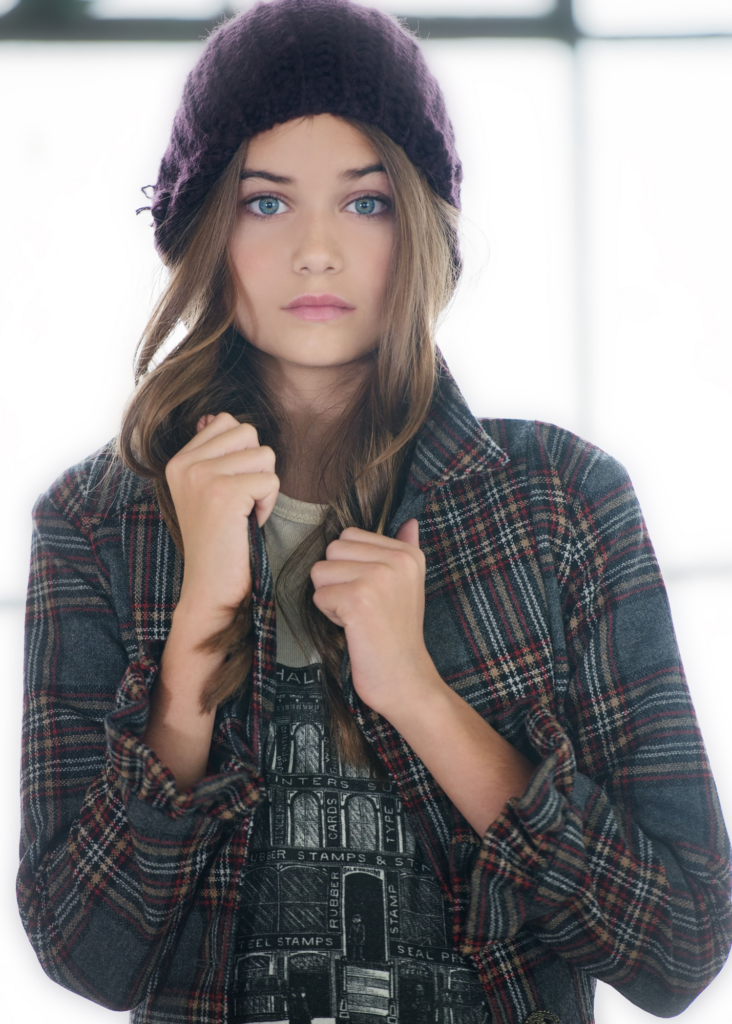
- Arrive early. Before the models start showing up, get there and check those outfits. Bring a steamer, always! Also, be ready to steam mid-shoot. If that outfit is making the rounds on multiple models, expect to freshen it up inbetween.
- Keep a running checklist. As each outfit is photographed, have your assistant confirm with the photographer that you got the look. If yes, great! Mark it off and collect the outfit. If not, plan to reshoot it, preferably before the model leaves.
- Communicate with your photographer constantly. Check the camera roll throughout the shoot. Don’t assume everything got captured; confirm it. If an outfit didn’t get the perfect shot, quietly make a plan B, so as to not offend models or moms. Sometimes kids have off days. We would have to reshoot outfits at every shoot because of this and it is ok.
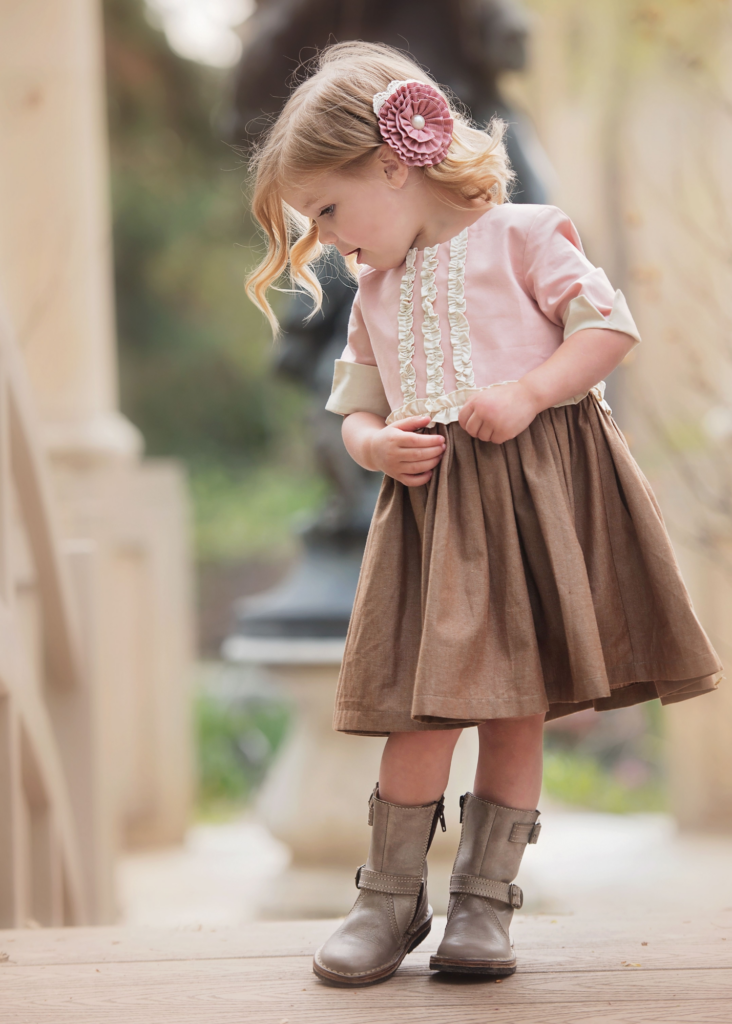
- Manage parents. Let them know ahead of time that it’s better if they’re out of view. If the child sees mom or dad, the magic vanishes. Kids are always more cooperative when mom isn’t in their eyeline. I promise this is what we saw 99% of the time.
Staying organized and managing expectations, with your team, your models, and the parents, is what keeps the clothing brand photoshoot from going off the rails. Be kind, be clear, and always have backup outlet options.
Step 14: Take Down & Clean Up
By the end of the clothing brand photoshoot, everyone’s exhausted and ready to call it a day (especially you), but the takedown still matters. Make sure your team knows ahead of time that cleanup is part of the job. Don’t get stuck doing it alone. If some people need to leave early, plan accordingly and have someone, such as a helpful spouse, swing by to assist, especially if you’re dealing with trailers or a large amount of gear.
After everything’s packed up, do a quick debrief with your photographer. You need to confirm if you got all the shots or if something needs to be reshot the next day. Save the longer “what went wrong” talk for later when everyone’s had a chance to rest. Maybe ask the team to take notes to bring to a follow up meeting. Just keep things moving, make a quick plan if needed, and wrap it up with a little sanity still intact.
Step 15: Flat Lays
Flat lays showcase your product details and need to look perfect. If your photographer is doing them, decide on a backdrop ahead of time. Clothes should be steamed and laid out neatly, so make sure that’s covered.
There are ways to save money, and one of the biggest is to do it yourself. Use a small backdrop, set up near natural light, and shoot straight down with your phone. Avoid shadows, keep lighting even, and make sure the colors look true. Get both the front and back view.
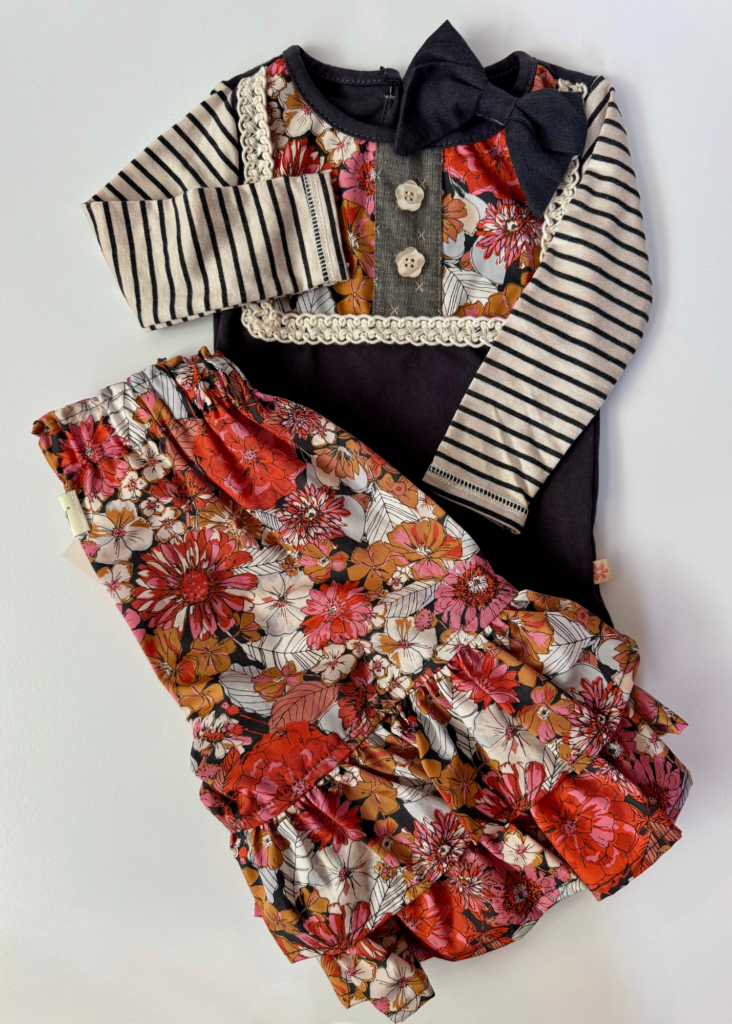
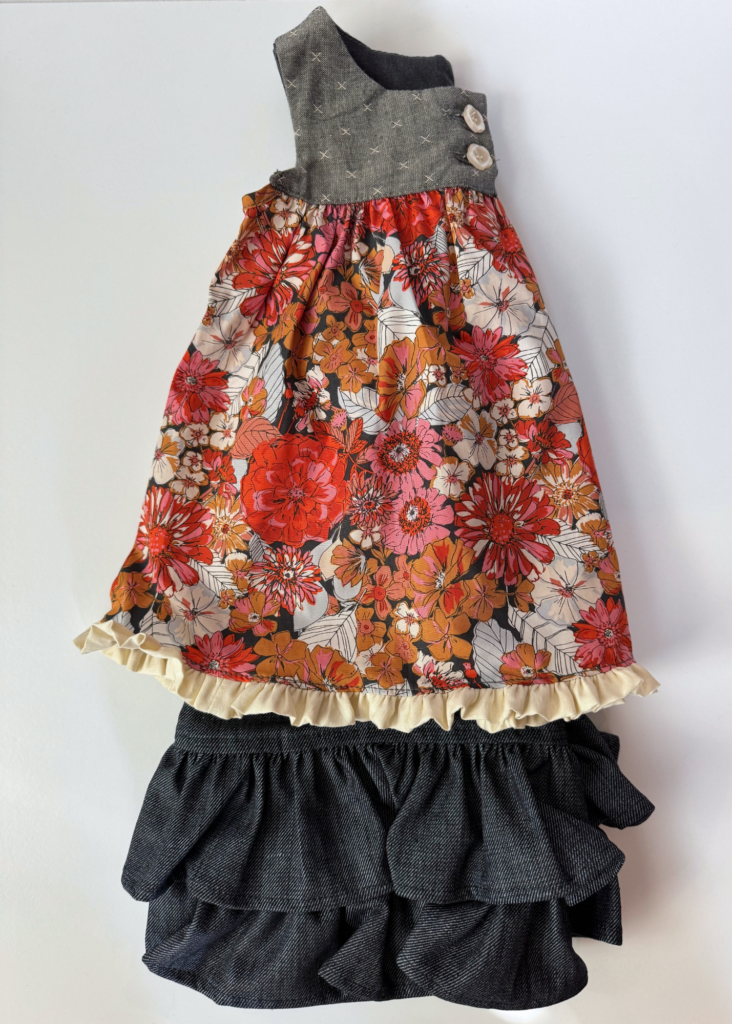
Pro tip: Shoot flats before kids wear the clothes, if possible! Stains can ruin your shots. It can be tricky to do because unfortunately it isn’t uncommon to be getting clothes from the manufacturer the day before the shoot.
Step 16: Post-Shoot
There’s a lot to be learned after the photos are taken. This is where you grow. Take the time to reflect, regroup, and refine your process while everything’s still fresh.
Here’s what to do post-shoot:
- After the clothing brand photoshoot, take time to debrief, even if it’s just with your family. Talk about what worked, what didn’t, and what you need to change for next time (like packing scissors or pins).
- While everything’s fresh, jot down notes. Use your phone or notebook to track fit issues or styling tweaks. If something felt off, trust your gut; it probably was.
- If you sampled a new piece, schedule time with your pattern maker. Adjust the fit or design before going into full production.
- Organize and resize your photos. Sort by outfit, model, or setting, and use Canva or a similar tool to reduce file sizes for web or marketing.
- Start a running checklist. Add everything you needed (but forgot) so you’re more prepared for the next shoot.
At the end of the day, a successful photoshoot is about more than just snapping some good pictures. It’s a mix of planning, creativity, and learning from what works and what doesn’t. You want these images to reflect your brand’s story, identity, and purpose.
The most important part from one fashion designer to another is to keep improving each time. It’s all about progress, not perfection. Keep experimenting, keep learning, and, most importantly, keep having fun with it!
Your Next Steps
Need a mentor by your side as you navigate all of the challenges of owning a fashion brand? Check out my mentorship for new and aspiring fashion designers, Fruition. I hold your hand through each and every step of launching, managing, and scaling your clothing brand. Head over to Fruition today to see if it’s the right fit for you!


Read the Comments +